Crème Brûlée is one of the most elegant and satisfying desserts, loved for its creamy custard base and contrasting caramelized sugar topping. The caramelization process, also known as brûlée, is what transforms this dessert into a textural masterpiece, providing a crispy, glass-like layer of caramel that crackles delightfully under a spoon. If you’ve ever wondered what crème brûlée is made of, its simplicity might surprise you—it’s the perfect blend of cream, sugar, eggs, and vanilla.
Table of Contents
Caramelizing brûlée can seem intimidating, especially for first-timers, but with the right tools and techniques, anyone can master this culinary art. Understanding the difference between crème brûlée and custard can help refine your approach, ensuring your dessert achieves the perfect balance of texture and flavor.
Knowing how to caramelize brûlée is the key to achieving this delightful contrast of textures and elevating your dessert-making skills. In this guide, we’ll break down the entire process into simple, actionable steps and offer tips to ensure you achieve a perfect brûlée every time. You can also explore creative takes, like the innovative crab brûlée recipe, for inspiration that goes beyond the classic preparation.
Understanding Crème Brûlée
Crème Brûlée, which translates to “burnt cream” in French, is a dessert that combines a rich, velvety custard base with a brittle, caramelized sugar topping. This contrast between the creamy and crunchy layers is what makes it so beloved. To understand how to caramelize brûlée properly, it’s essential to grasp the basics of its composition.
Ingredients That Define Crème Brûlée
The foundation of Crème Brûlée lies in its custard base, typically made with just a few ingredients:
- Heavy Cream: Provides the rich, smooth texture.
- Egg Yolks: Responsible for thickening the custard and adding a silky consistency.
- Sugar: Sweetens the custard and serves as the key ingredient for the caramelized top.
- Vanilla: Enhances the flavor profile, often used as vanilla extract, paste, or bean.
Each component plays a crucial role in ensuring the dessert’s balance between richness and sweetness. When caramelizing the sugar topping, the choice of sugar becomes critical, as it influences how evenly and efficiently the brûlée layer forms.
Why Caramelization is Crucial
The caramelized layer provides a crunchy texture and enhances the overall flavor, so knowing how to caramelize brûlée properly is crucial for achieving the desired results.
- Texture Contrast: The hardened sugar creates a delightful crunch that complements the creamy custard underneath.
- Flavor Enhancement: The caramelized sugar develops complex notes of sweetness, with hints of bitterness and nuttiness.
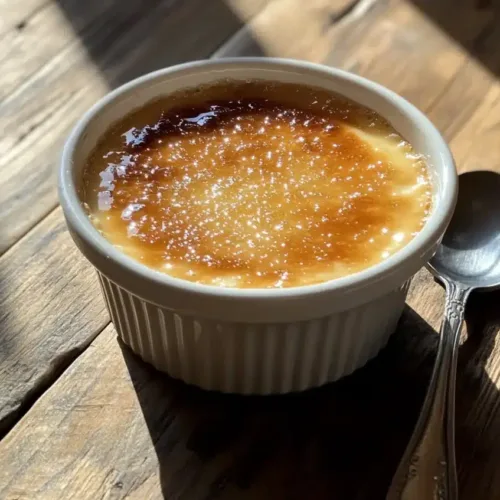
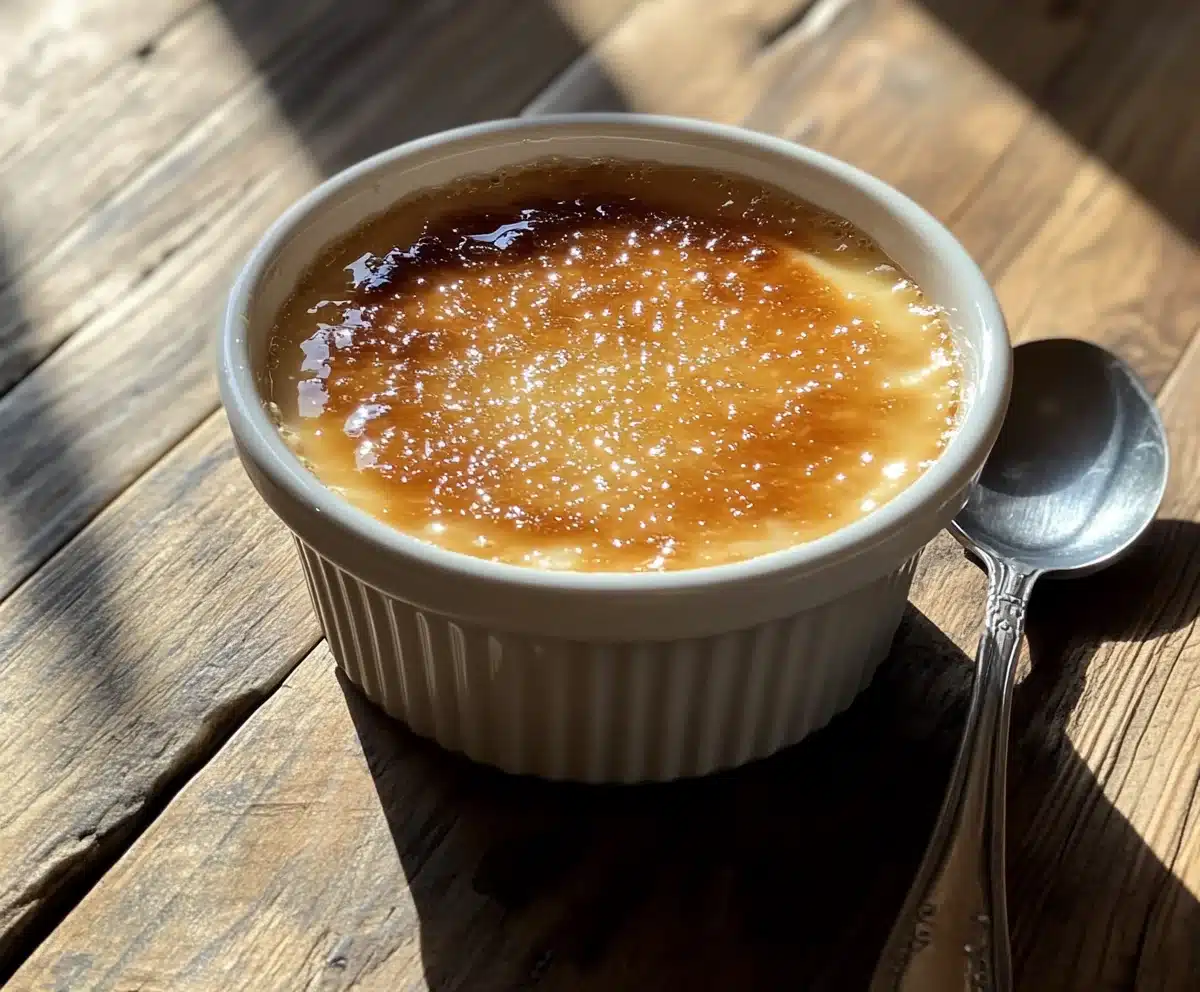
- Visual Appeal: A perfectly caramelized brûlée is golden brown with a glossy finish, making it visually irresistible.
Mastering this process ensures the dessert not only tastes incredible but also looks like a professional creation.
Essential Tools and Ingredients for Caramelizing Brûlée
Before diving into the caramelization process, having the right tools and ingredients at your disposal is essential. This preparation ensures both ease and precision in achieving the signature golden-brown topping of a Crème Brûlée.
Kitchen Tools Needed
- Kitchen Torch:
A kitchen torch is the most popular and effective tool for caramelizing brûlée. It provides direct, controlled heat, allowing you to caramelize the sugar evenly without affecting the custard beneath. - Ramekins:
These small, heat-resistant dishes hold the custard. Their sturdy construction ensures they can withstand the heat from the torch or broiler. - Broiler (Optional):
If a torch isn’t available, a broiler can be used to caramelize the sugar. However, this method requires careful attention to avoid burning the sugar or overcooking the custard. - Fine Sieve:
Used to strain the custard mixture for a smoother texture, ensuring a flawless base before caramelization. - Spoon (Optional):
A hot metal spoon can serve as a last-resort tool for caramelizing sugar, although it requires more effort and precision.
Selecting the Right Sugar for Caramelization
The choice of sugar significantly impacts the caramelization process. Here’s a breakdown of suitable options:
- Granulated Sugar: The most common choice, offering a fine texture that spreads evenly and caramelizes quickly.
- Superfine Sugar: Dissolves faster and ensures a smoother, thinner layer of caramel. Ideal for a more delicate topping.
- Brown Sugar: Adds a deeper flavor but can sometimes melt unevenly, creating an irregular crust.
- Turbinado Sugar: A coarse sugar that delivers a crunchier topping but may take longer to caramelize.
Prepping the Custard
Before caramelizing, ensure the custard is fully prepared and properly chilled. Steps for prep:
- Cooking the Custard: Bake the custard in a water bath until it’s just set, with a slight jiggle in the center.
- Chilling: Refrigerate the custard for at least 2-4 hours, preferably overnight. A cold custard ensures the heat from caramelization doesn’t penetrate and alter its creamy texture.
- Surface Dryness: Dab the custard surface gently with a paper towel to remove excess moisture. This ensures the sugar adheres evenly and caramelizes without clumping.
With the tools in place and the custard prepped, you’re ready to move on to the step-by-step process of caramelizing your brûlée.
Step-by-Step Guide to Caramelizing Brûlée
Caramelizing a Crème Brûlée is the most exciting step in preparing this decadent dessert. It transforms a simple custard into a gourmet treat with a crispy, caramelized top that’s irresistibly satisfying. Follow these detailed steps to achieve perfect caramelization.

Step 1: Chill the Custard Properly
The custard must be cold and firm before you start caramelizing. Here’s why:
- A properly chilled custard withstands the heat from the torch without melting or softening.
- Chilling for at least 2–4 hours ensures the custard has fully set and delivers the best texture.
Tip: Refrigerate the custard in its ramekin and only remove it when ready to caramelize.
Step 2: Sprinkle an Even Layer of Sugar
Creating an even sugar layer is key to uniform caramelization. Here’s how:
- Measure Sugar Carefully: Use approximately 1–2 teaspoons of sugar per ramekin. Adjust based on the size of your dish.
- Spread Evenly: Tilt and rotate the ramekin while sprinkling to distribute the sugar across the surface. For extra smoothness, use superfine sugar and level it with a small spatula or your fingers.
- Tap Off Excess: Gently tap the ramekin to remove excess sugar, which can burn or clump during caramelization.
Tip: If you prefer a thicker caramel crust, use slightly more sugar, but ensure it remains evenly spread.
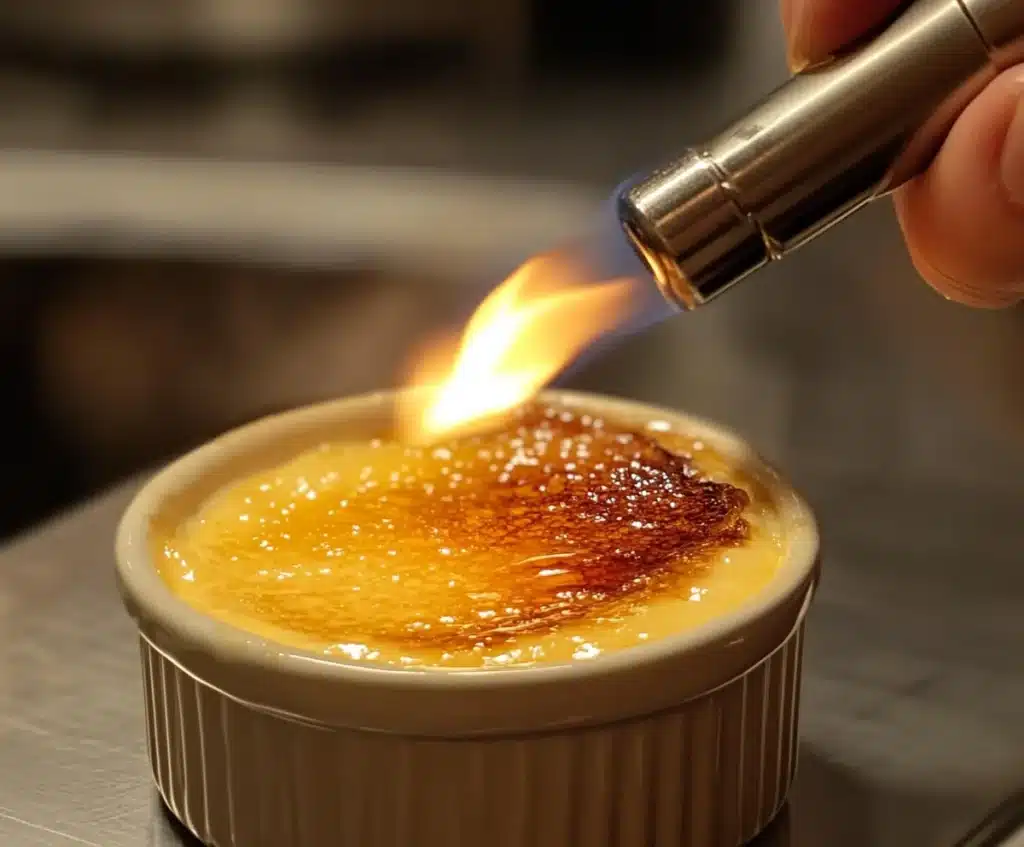
Step 3: Using a Kitchen Torch
The kitchen torch is the most effective tool for caramelizing brûlée. Here’s a step-by-step guide:
- Ignite the Torch: Turn on the torch and adjust it to produce a steady, medium flame.
- Start Caramelizing: Hold the torch about 2–3 inches away from the sugar. Begin at one side of the ramekin and move the flame in small circular motions.
- Watch the Sugar Melt: The sugar will start to bubble, liquefy, and then darken to a golden brown. Continue moving the torch evenly to avoid burning.
- Check for Color Consistency: Stop caramelizing once the entire surface is a uniform caramel color with a slight sheen.
This step-by-step guide shows exactly how to caramelize brûlée to achieve a golden, crackling sugar topping
Alternative Methods for Caramelizing Brûlée
If a kitchen torch isn’t available, you can try these alternatives:
1. Broiler Method:
- Preheat your oven’s broiler to high.
- Place the ramekins on a baking sheet and position them about 4–5 inches from the broiler flame.
- Monitor closely, rotating the ramekins as needed for even caramelization. This method takes about 2–3 minutes.
Caution: The broiler’s heat can be intense, so check frequently to avoid overcooking the custard.
2. Spoon Technique:
- Heat a metal spoon over an open flame until it’s red-hot.
- Carefully press the hot spoon onto the sugar surface, melting it into a caramel layer.
- Repeat this process until the entire surface is caramelized.
Tip: The spoon method is labor-intensive and may result in an uneven crust but works as a last resort.
By following these steps, you can master the art of caramelizing brûlée and create a dessert that’s visually stunning and irresistibly crunchy.
Common Mistakes and How to Avoid Them
Caramelizing a Crème Brûlée may seem straightforward, but there are several common pitfalls that can compromise the final result. Understanding these mistakes and knowing how to avoid them will ensure a perfect, professional-quality brûlée every time.
Uneven Caramelization
Problem: The sugar layer burns in some spots while remaining undercaramelized in others.
Cause: This often happens due to an uneven layer of sugar or improper use of the torch.
Solution:
- Even Sugar Distribution: Take extra care to sprinkle a uniform layer of sugar across the custard’s surface. Use superfine sugar if you’re struggling to achieve an even spread.
- Consistent Torch Movement: Always keep the torch moving in small circles and maintain a steady distance of about 2–3 inches from the surface. Lingering in one spot too long will cause localized burning.
Burnt Sugar
Problem: The caramel layer tastes bitter or has blackened spots.
Cause: Overheating the sugar or using a high flame can cause it to burn.
Solution:
- Adjust the Torch Flame: Use a medium flame rather than high heat for better control.
- Monitor Color Changes: Stop caramelizing as soon as the sugar turns a golden brown with a slight amber hue. Sugar burns quickly, so keep a close eye on the process.
Improper Sugar Selection
Problem: The sugar doesn’t caramelize well, leaving clumps or a gritty texture.
Cause: Using coarse or moist sugar can lead to uneven melting.
Solution:
- Choose Fine Sugar: Superfine or granulated sugar works best for even caramelization. Avoid brown sugar unless you’re seeking a specific flavor, as its higher moisture content can complicate the process.
- Keep Sugar Dry: Store sugar in a sealed container to prevent it from absorbing moisture. Dry sugar spreads and melts more uniformly.
Overheating the Custard
Problem: The custard becomes warm or runny beneath the caramel layer.
Cause: Excessive heat from the torch or broiler can penetrate the custard and alter its texture.
Solution:
- Chill Thoroughly: Ensure the custard is well-chilled before caramelizing. A cold base absorbs less heat, preserving its creamy consistency.
- Minimize Heat Exposure: Keep the torch moving, and don’t let the broiler’s heat linger on the custard for too long.
Sugar Sinking into the Custard
Problem: The sugar fails to stay on the surface and instead blends into the custard.
Cause: This often occurs if the custard surface is wet or if too much sugar is used.
Solution:
- Dry the Custard Surface: Before adding sugar, use a paper towel to gently blot any moisture. A dry surface helps the sugar adhere properly.
- Use a Moderate Amount of Sugar: Stick to 1–2 teaspoons per ramekin to ensure the sugar stays on the surface.
By addressing these common mistakes, you can confidently caramelize your brûlée with consistent results and enjoy its delightful contrast of textures.
FAQs on Caramelizing Brûlée
Caramelizing Crème Brûlée can raise several questions for beginners and even experienced cooks. Here are answers to some of the most frequently asked questions to help you master this delicious dessert.
How thick should the caramel layer be?
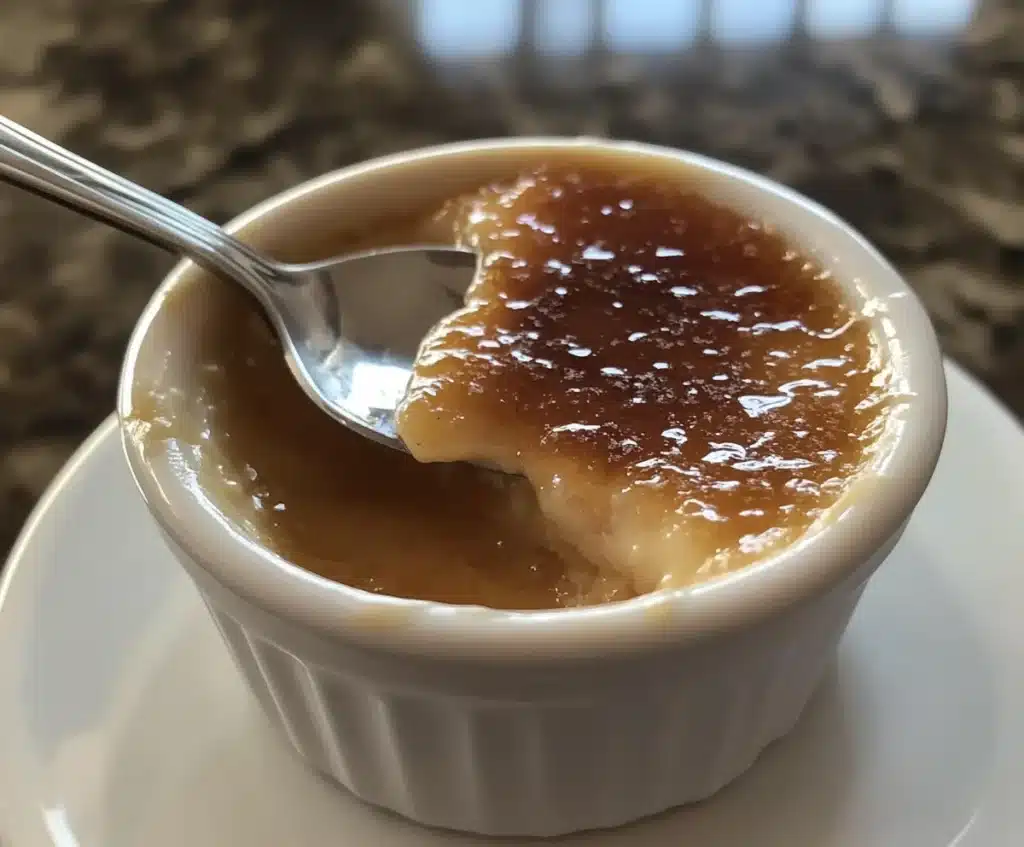
The caramel layer should be thin but strong enough to crack under the pressure of a spoon. Ideally, use about 1–2 teaspoons of sugar for a standard ramekin. A thicker layer may become too hard and difficult to eat, while a thinner layer may not provide the desired crunch.
How to caramelize brûlée without using a torch?
Yes, you can caramelize brûlée without a torch using these alternatives:
- Broiler Method: Place the ramekins under a preheated broiler for 2–3 minutes. Monitor closely to prevent burning.
- Spoon Technique: Heat a metal spoon over an open flame and press it onto the sugar surface.
While these methods work, a kitchen torch offers the best control and consistency.
What type of sugar works best for caramelizing brûlée?
Granulated sugar is the most commonly used and provides excellent results. Superfine sugar is also a great choice as it melts faster and creates a smoother caramel layer. Avoid brown sugar for traditional brûlée, as its moisture content can make it difficult to caramelize evenly.
How do I know if the caramelization is done?
The sugar is fully caramelized when it has melted into a glossy, golden-brown layer with an even color. Look for a slight amber hue, and stop caramelizing before the sugar turns too dark, which can indicate burning.
Can I reheat a caramelized brûlée?
No, reheating a caramelized brûlée is not recommended. The caramel layer will lose its crispness and may dissolve into the custard. If you plan to serve the dessert later, store the custard in the refrigerator and caramelize the sugar topping just before serving.
Why does the sugar sometimes sink into the custard?
This happens when the custard surface is too moist, or when excess sugar is used. To avoid this:
- Gently blot the custard surface with a paper towel before adding sugar.
- Use a moderate amount of sugar (1–2 teaspoons) and distribute it evenly across the surface.
By addressing these questions, you’ll be equipped with the knowledge to tackle any challenges that arise while caramelizing your brûlée.

Conclusion
Caramelizing Crème Brûlée is a culinary technique that, while seemingly complex, can be mastered with the right tools, ingredients, and approach. The combination of a creamy custard base and a crackling caramelized sugar topping creates a dessert that’s both indulgent and elegant.
To recap:
- Preparation is Key: Start with a properly chilled custard and ensure the surface is dry before adding sugar.
- Choose the Right Tools: A kitchen torch offers the best results, but alternatives like a broiler can work in a pinch.
- Perfect Your Technique: Spread sugar evenly, keep the torch moving, and monitor the caramelization process closely to avoid burning.
Now that you know how to caramelize brûlée, it’s time to try it yourself and wow your guests with this classic dessert.

Crème Brûlée
Ingredients
For the Custard
- 2 cups Heavy Cream Provides a rich texture.
- 4 large Egg Yolks Thickens the custard.
- 1/2 cup Sugar Sweetens the custard.
- 1 teaspoon Vanilla Extract Enhances flavor.
For the Topping
- 1-2 teaspoons Granulated Sugar For caramelizing the top.
Instructions
Preparation of Custard
- Preheat the oven to 325°F (160°C).
- In a mixing bowl, whisk together the egg yolks and sugar until combined.
- Heat the heavy cream in a saucepan until just simmering, then gradually stir into the egg mixture.
- Add vanilla extract and mix until smooth.
- Strain the mixture through a fine sieve into a large measuring jug.
- Pour the custard into ramekins and place them in a baking dish; fill the dish with hot water until the ramekins are half submerged.
- Bake for 30-40 minutes, until set but still slightly jiggly in the center.
- Remove from the oven and let cool before refrigerating for at least 2-4 hours.
Caramelizing
- Remove the chilled custards from the refrigerator.
- Gently blot the tops with a paper towel to dry.
- Sprinkle an even layer of granulated sugar on top of each custard.
- Using a kitchen torch, hold it about 2-3 inches from the sugar and move in small circular motions until the sugar melts and caramelizes to a golden brown.
- If using a broiler, place under high heat for 2-3 minutes, watching closely.

