
As Easter approaches, many of us find ourselves reminiscing about festive feasts filled with delightful treats. Remember the flavor of fresh banana pudding, the creamy texture that melts in your mouth, topped with crunchy vanilla wafers? Now, imagine that classic dessert transformed into bite-sized truffles that are perfect for sharing, gifting, or enjoying during family gatherings.
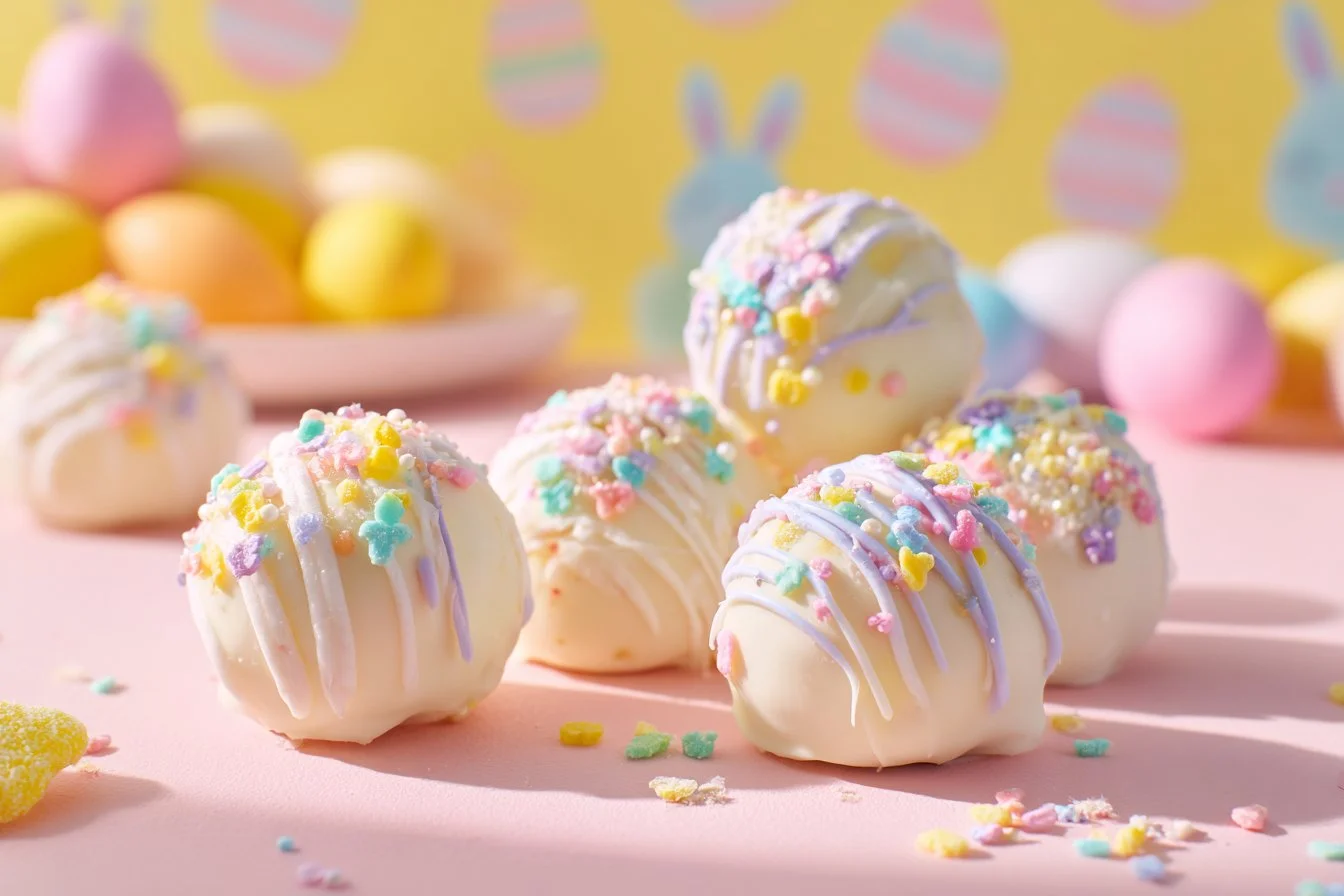
Banana Pudding Easter Truffles bring a delightful twist to your holiday celebrations. Not only are they irresistibly delicious, but they’re also straightforward to prepare, ensuring you spend less time in the kitchen and more time enjoying festive moments. Ideal for Easter parties, these truffles make for a fantastic centerpiece on candy buffets or dessert trays. Dive into this luscious recipe and get ready to impress your guests with these delightful morsels.
Why Make This Recipe
These Banana Pudding Easter Truffles are a treat you wouldn’t want to miss. First, the flavor combination of creamy banana pudding, sweet whipped topping, and crunchy vanilla wafers create an unforgettable taste experience. You’ll enjoy how quickly they come together, making them a time-efficient choice for last-minute gatherings.
With just a handful of ingredients, this recipe is also budget-friendly, making it perfect for family celebrations without breaking the bank. The versatility of this treat is endless; you can customize decorations according to your theme, ensuring that these truffles will fit seamlessly into various occasions.
Finally, the satisfying bite-sized portions make them crowd-pleasers that are sure to entice everyone, leaving your guests asking for more.
How to Make Banana Pudding Easter Truffles
Ingredients
- 1 package vanilla wafers
- 1 box instant banana pudding mix
- 2 cups milk
- 1/2 cup cream cheese, softened
- 2 cups whipped topping
- Chocolate coating or melting wafers
- Sprinkles for decoration
Directions
- Prepare the Pudding: In a bowl, combine the banana pudding mix and milk. Whisk the mixture until smooth, ensuring there are no lumps, about 2-3 minutes. Set aside.
- Cream the Cheese: In another bowl, beat the softened cream cheese until it reaches a smooth consistency, roughly 2-4 minutes with an electric mixer.
- Combine Mixtures: Gently fold the pudding mixture into the cream cheese until they are fully integrated, being careful not to overmix.
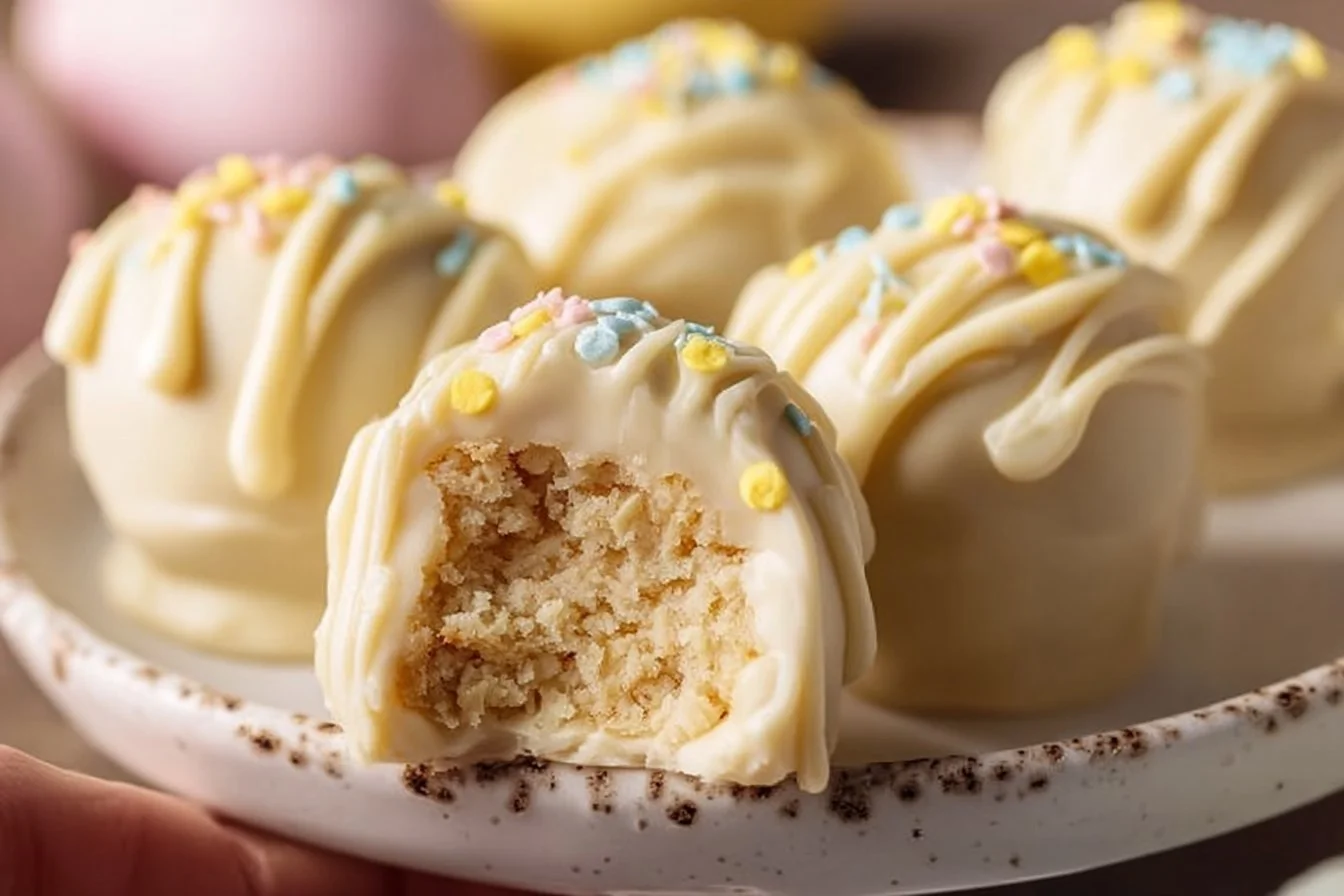
- Add Vanilla Wafers: Crush the vanilla wafers into fine crumbs and mix them into the pudding mixture for that delicious crunch. This should take about 2-3 minutes.
- Form the Truffles: Using your hands, form the mixture into small balls, approximately 1 inch in diameter, and place them on a baking sheet lined with parchment paper.
- Chill: Cover the baking sheet and freeze the truffles for about 30 minutes to firm them up for coating.
- Melt the Coating: Meanwhile, melt the chocolate coating or melting wafers according to the package directions until smooth. Stir every 2-3 minutes to ensure even melting.
- Coat the Truffles: Once firm, dip each truffle into the melted chocolate, ensuring it’s fully coated. Place them back on the baking sheet.
- Decorate: Before the chocolate sets, sprinkle your desired decorations over the top to add a pop of color.
- Chill Again: Return the truffles to the refrigerator to set until you’re ready to serve, keeping them chilled for the best texture.
How to Serve Banana Pudding Easter Truffles
For the best experience, serve your Banana Pudding Easter Truffles chilled, straight from the fridge. Arrange them on a decorative platter for an eye-catching centerpiece, perhaps alongside a light fruit salad or other Easter desserts. Pair them with beverages such as sweetened iced tea or a light punch, enhancing the festive atmosphere. A vibrant garnish with seasonal fruit or edible flowers can elevate the presentation, while a touch of powdered sugar dusting will add a lovely finish.
How to Store Banana Pudding Easter Truffles
Store your Banana Pudding Easter Truffles in an airtight container in the refrigerator for up to five days. If you wish to freeze them, place the truffles in a single layer on a baking sheet and freeze until solid. Transfer to a freezer-safe container and they can be stored for up to three months. When you want to enjoy them again, let them thaw in the fridge overnight for the best texture and flavor. Always check the truffles for freshness before consuming; if they’ve developed an off smell or flavor, it’s best to discard them. For maximum convenience, these truffles can be made ahead of time, making them a perfect treat for busy occasions.
Tips to Make Banana Pudding Easter Truffles
- Use Room Temperature Ingredients: To achieve a creamy texture, ensure your cream cheese is at room temperature before mixing.
- Add Texture: Consider incorporating finely chopped nuts or shredded coconut for added texture and flavor.
- Use Quality Chocolate: Investing in high-quality chocolate or melting wafers will significantly enhance the flavor of the truffles.
- Mind the Size: Form each truffle to a consistent size to ensure even coating and a uniform look on the serving platter.
- Storage Guide: Store truffles in the fridge instead of at room temperature to keep them firm.
- Avoid Overmixing: When combining the cream cheese and pudding, mix just until incorporated to maintain a smooth texture.
- Be Creative with Sprinkles: Use colored sprinkles or themed edible glitter to match your Easter decorations!
- Experiment with Flavors: Try adding a splash of vanilla extract or banana extract to intensify the banana flavor.
- Batch Cooking: Double the recipe if you’re expecting a crowd; these truffles go fast!
- Transform Leftovers: If you have any leftover truffle mixture, consider layering it in cups with additional whipped topping and crushed vanilla wafers for a quick dessert parfait.
Variations
- Vegan Delight Banana Truffles: Use plant-based cream cheese and coconut whipped topping for a delicious vegan version that’s still creamy and satisfying.
- Protein-Packed Truffles: Add a scoop of vanilla protein powder to the mixture for an extra protein boost that’s perfect for post-workout snacks.
- Gluten-Free Banana Truffles: Substitute vanilla wafers with gluten-free graham crackers or almond flour for those with gluten allergies.
- Zesty Citrus Twist: Incorporate the zest of a lemon or lime into the mixture for a refreshing citrus kick that balances the sweetness.
- Spice It Up: Add a pinch of cinnamon or nutmeg to the truffle mixture for a warm holiday flavor that’s unexpected yet delightful.
FAQs
Can I make this ahead of time?
Yes! You can prepare the truffles a day in advance. Just store them in the refrigerator until you’re ready to serve. They also freeze well if you prefer to make them further ahead.
How do I store leftovers?
Store any leftover truffles in an airtight container in the refrigerator for up to five days. Ensure they’re well-covered to prevent them from absorbing any odors.
Can I freeze this dish?
Absolutely! Freeze the truffles after coating them in chocolate. Place them on a baking sheet and freeze until solid, then transfer to a freezer-safe container for up to three months.
What can I substitute for cream cheese?
If you’d like a lighter option, Greek yogurt can be used as a substitute for cream cheese, although this will alter the flavor and consistency slightly.
How do I prevent my truffles from sticking?
Use parchment paper on your baking sheet and ensure that the truffles are well-chilled before dipping them in chocolate. This helps them maintain their shape.
Is this recipe suitable for a gluten-free diet?
You can easily adapt this recipe for gluten-free diets by choosing gluten-free cookies or graham crackers in place of traditional vanilla wafers.
How do I know when the truffles are done?
Once the truffles are coated in chocolate and have set in the fridge, they’re ready to enjoy. The chocolate should have a smooth and glossy finish.
Can I double this recipe?
Yes, you can double this recipe! When doing so, ensure you have enough space for chopping and mixing; using larger bowls might help make the process smoother.