
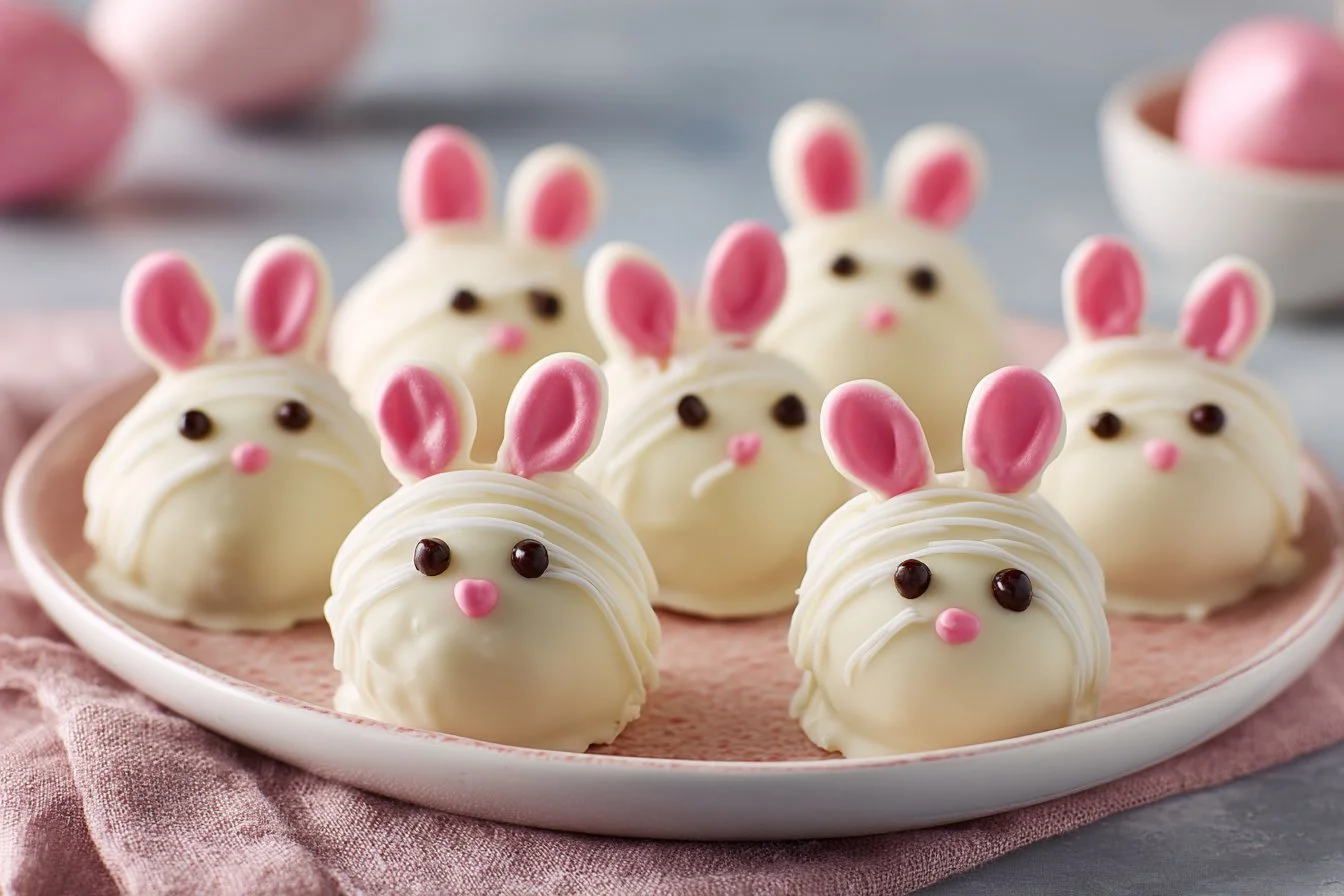
Have you ever encountered a dessert that’s as delightful to the eyes as it is to the taste buds? Imagine little balls of creamy goodness, coated in silky white chocolate, and finished off with adorable bunny ears and eyes. The aroma that fills your kitchen during the preparation is simply irresistible, hinting at the sweet treat that’s about to be served. Bunny Oreo Balls are not only a feast for the senses; they’re remarkably easy to make and perfect for any gathering.
These sweet treats stand out for their whimsical presentation and delicious flavors, combining the classic taste of Oreos with the richness of cream cheese. They’re incredibly versatile too, making them suitable for various occasions, from holiday festivities to casual get-togethers. Additionally, they’re a real time-saver, allowing you to whip up a crowd-pleaser in just a matter of hours. Join me in crafting these delightful Bunny Oreo Balls that will surely impress everyone at your next event!
Why Make Bunny Oreo Balls
Creating these Bunny Oreo Balls offers several irresistible advantages. First and foremost, they are incredibly easy to whip up, making them perfect for last-minute desserts or fun family kitchen activities. With just four key ingredients, even beginner bakers can feel confident in their ability to create a delicious, crowd-pleasing treat.
You’ll also appreciate how quickly they come together. With minimal prep time and no baking required, you can have these beautiful bunny balls ready in under an hour—not to mention the time saved by making them ahead of any gathering! Plus, they are budget-friendly, using simple ingredients that won’t break the bank while still delivering a wow-factor.
Lastly, Bunny Oreo Balls are a delightful addition to any festivity, whether it’s a birthday, Easter celebration, or simply a sweet treat for the kids. Their cute appearance and rich flavor ensure they’ll disappear in no time, making them an easy and fun recipe to add to your dessert repertoire!
How to Make Bunny Oreo Balls
Ingredients
- Oreo cookies
- Cream cheese
- White chocolate
- Black icing or chocolate chips (for eyes)
- Candy melts (pink or colored for decoration)
Directions
Crush the Oreo cookies: Use a food processor to crush the Oreo cookies until they reach a fine consistency. You should have about 2 cups of crushed cookies.
Mix with cream cheese: In a medium-sized bowl, combine the crushed Oreos with the cream cheese. Stir until the mixture is well combined and forms a thick dough.
Shape the balls: Roll the Oreo mixture into small balls, about 1 inch in diameter. Place each ball onto a baking sheet lined with parchment paper.
Freeze for firmness: Once all the balls are shaped, place the baking sheet in the freezer for about 30 minutes. This allows the balls to firm up, making them easier to coat.
Melt the white chocolate: In a microwave-safe bowl, melt the white chocolate according to package instructions, stirring every 30 seconds until smooth.
Coat the Oreo balls: Remove the balls from the freezer. Dip each one into the melted white chocolate, ensuring that they are fully coated. Let any excess chocolate drip off.
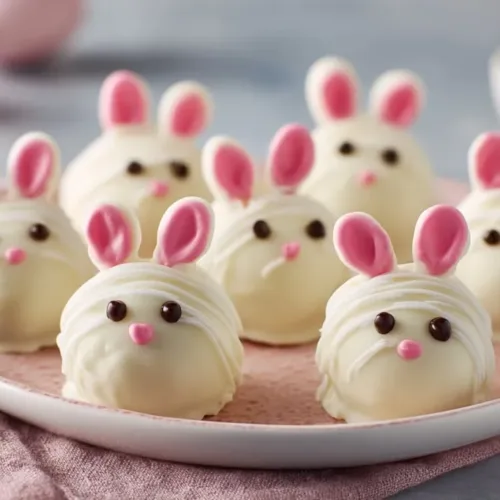
Add eyes and ears: Before the white chocolate sets, use black icing or chocolate chips to create eyes on each ball. Then, melt the candy melts and pipe or shape them into bunny ears on top.
Let it set: Allow the coated Bunny Oreo Balls to sit at room temperature until the chocolate has hardened completely before serving.
How to Serve Bunny Oreo Balls
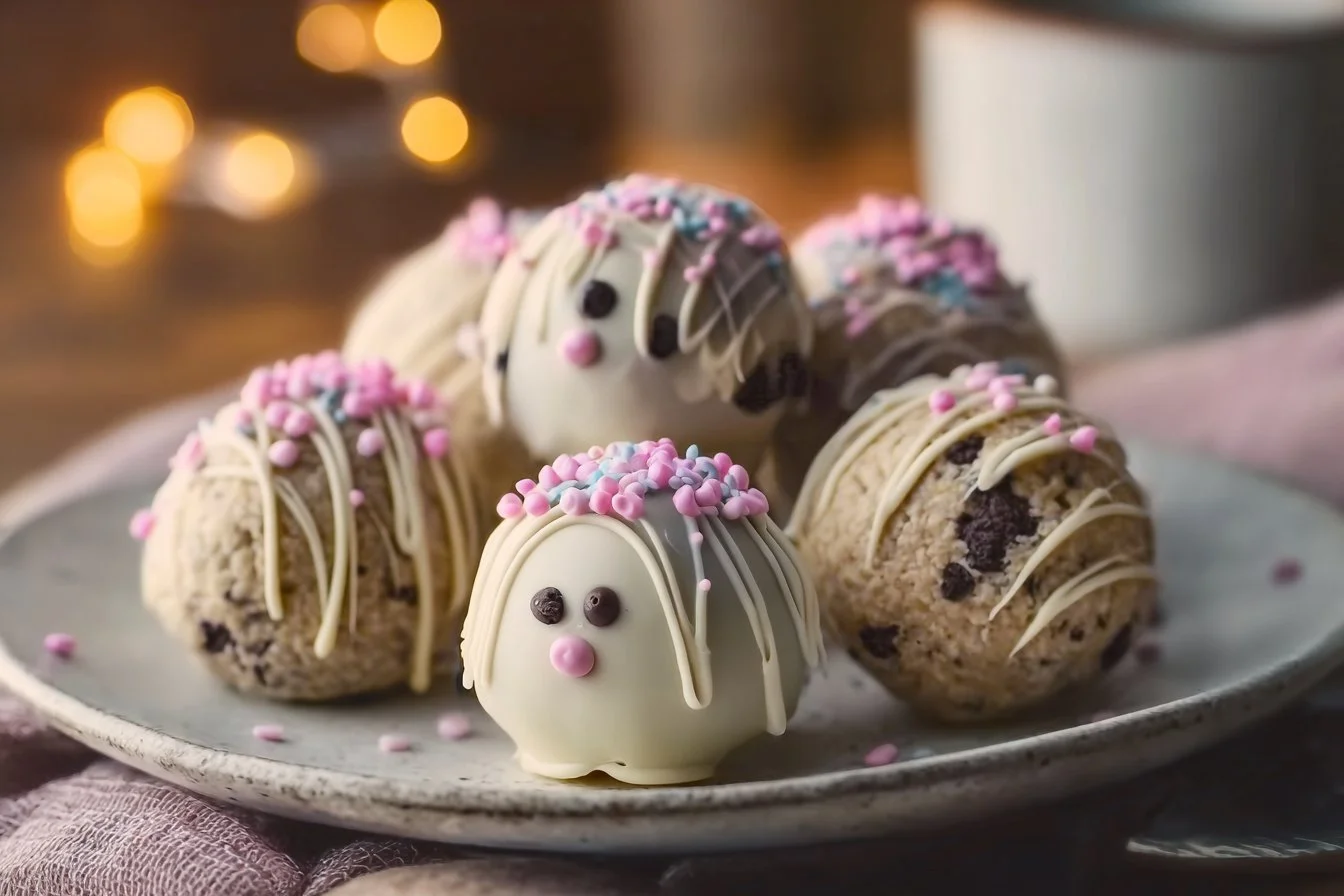
Bunny Oreo Balls are best served chilled or at room temperature, making them a refreshing dessert option. For an attractive presentation, arrange them on a decorative plate or a whimsical Easter-themed serving tray. To elevate the dish, consider adding colorful sprinkles or edible glitter, giving them an extra shine.
These treats pair excellently with a variety of beverages, especially milk or a light iced tea, making them perfect for dessert parties or family gatherings. They are also a delightful finish to a game night or movie marathon, adding a fun and festive touch to your snacks!
How to Store Bunny Oreo Balls
To store your Bunny Oreo Balls, place them in an airtight container and keep them in the refrigerator. They will stay fresh for up to a week, perfect for preparing in advance for parties. If you want to keep them longer, you can freeze them! Just ensure they are separated by parchment paper to avoid sticking, and they can last for up to 3 months.
When you’re ready to enjoy them again, simply take them out of the freezer and let them thaw in the fridge for a couple of hours. To maintain their delightful texture, avoid microwaving or overheating, as this can affect the coating.
Tips to Make Bunny Oreo Balls
Use a food processor for even cookie crumbles. This ensures a uniform texture, making it easier to form the balls.
Room temperature cream cheese blends more easily with the crushed Oreos, making the mixing process smoother and quicker.
Avoid overmixing the Oreo and cream cheese mixture to maintain a soft and chewy texture. Mix just until combined.
Chill the chocolate slightly after melting before dipping for a thicker coat that doesn’t run off.
Get creative with flavors by adding some finely chopped nuts or different flavored Oreos, like mint or peanut butter, to switch things up.
Make them ahead: Prepare the Oreo balls in advance and freeze them to save time during busy occasions or holidays.
Try different decorations, like colored sprinkles or edible glitter, to give your Bunny Oreo Balls a unique flair each time.
Use a spoon dipped in warm water to help shape the balls if they begin to stick to your hands.
For the ears, mold candy melts into small triangles and let them set before adding them to the chocolate-coated balls.
Transform leftovers by mixing into shakes or using them as toppings for ice cream—no need for waste!
Variations
Vegan Bunny Oreo Balls: Substitute traditional cream cheese with a plant-based cream cheese and use vegan white chocolate to create a vegan-friendly treat. These swaps ensure that everyone can indulge in this delightful dessert.
Peanut Butter Bunny Balls: Add a spoonful of peanut butter to the Oreo-crème cheese mixture for a nutty flavor that complements the sweetness. It adds richness and a creamy texture that is truly unforgettable.
Gluten-Free Bunny Balls: Opt for gluten-free Oreo cookies to make these treats suitable for those with gluten sensitivities. Enjoy the same delightful flavor while accommodating dietary needs.
Spiced Bunny Oreo Balls: Add a dash of cinnamon or nutmeg to the Oreo-cream cheese mixture for a warm, spiced flavor profile. This twist can evoke the comforting taste of classic holiday treats.
Tropical Bunny Balls: Mix crushed pineapple or coconut flakes into the filling before rolling them into balls. This addition creates a refreshing tropical twist that’s perfect for summer gatherings.
FAQs
Can I make these ahead of time?
Absolutely! You can prepare Bunny Oreo Balls a day or two in advance. Simply store them in an airtight container in the refrigerator. They can also be frozen for up to 3 months if you want to plan even farther ahead.
How do I store leftovers?
Store any leftover Bunny Oreo Balls in a sealed container in the fridge for up to a week. They maintain their flavor and texture well when kept cool.
Can I freeze this dish?
Yes! To freeze, place the chocolate-covered Oreo Balls in a single layer on a baking sheet until firm, then transfer them to an airtight container with parchment paper between layers to prevent sticking. They are best eaten within three months.
What can I substitute for cream cheese?
For a dairy-free option, look for vegan cream cheese which offers a similar consistency and flavor. Silken tofu blended until smooth can also work as a lighter alternative.
How do I prevent sticking?
To prevent the cardboard mixture from sticking to your hands, keep your hands slightly wet or use a small scoop for even portions. Chilling the balls before coating also helps reduce sticking.
Is this recipe gluten-free?
By using gluten-free Oreos, you can easily adapt this recipe to be gluten-free while still enjoying the delicious flavors.
Can I double the recipe?
Yes! This recipe can easily be doubled if you’re planning to make a larger batch. Just ensure you have ample space to accommodate the extra cookies when rolling and decorating.
What if I don’t have a food processor?
If you don’t own a food processor, you can place the Oreo cookies in a resealable plastic bag and crush them using a rolling pin or mallet until fine.
With these Bunny Oreo Balls, you now have a delectable treat that’s sure to light up any occasion. Enjoy the fun process of making these adorable dessert balls, and feel free to explore different variations to personalize them to your taste!
Bunny Oreo Balls
Ingredients
Main Ingredients
- 2 cups Oreo cookies, crushed
- 8 oz Cream cheese, softened Room temperature for easier mixing
- 12 oz White chocolate, for coating Melt according to package instructions
- 1 tbsp Black icing or chocolate chips For eyes
- 1 cup Candy melts, pink or colored for decoration For bunny ears
Instructions
Preparation
- Use a food processor to crush the Oreo cookies until finely ground.
- In a medium bowl, combine the crushed Oreos with the softened cream cheese, mixing until well combined.
- Roll the Oreo mixture into small balls, about 1 inch in diameter, and place them on a baking sheet lined with parchment paper.
- Freeze the balls for about 30 minutes to firm up.
Coating
- Melt the white chocolate in a microwave-safe bowl, stirring every 30 seconds until smooth.
- Dip each chilled ball into the melted white chocolate, ensuring they are fully coated.
- Use black icing or chocolate chips to create eyes before the chocolate sets.
- Melt the colored candy melts and shape them into bunny ears on top of each ball, using a piping bag if preferred.
Setting and Serving
- Let the coated Bunny Oreo Balls sit at room temperature until the chocolate hardens completely before serving.