
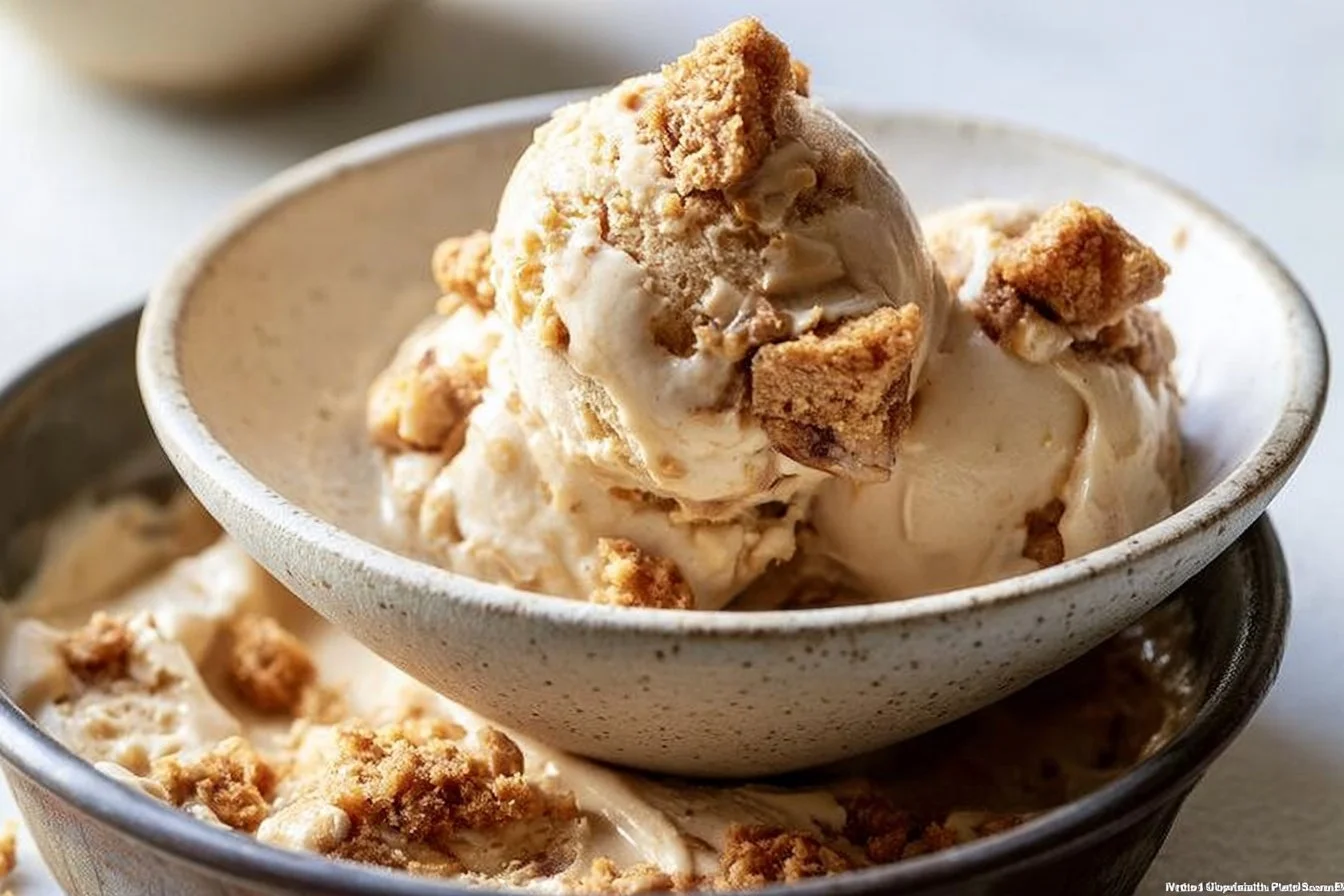
Imagine sinking your spoon into a luscious, creamy scoop of ice cream, only to discover a delightful swirl of cookie butter and crunchy Biscoff cookies concertinaed inside. The sweetness wafts through the air as you take your first taste, an unexpected combination that dances on your palate and beckons you for more. This homemade cookie butter ice cream recipe is not just indulgent; it’s a celebration of flavor that brings back nostalgic memories of childhood treats and cozy afternoons.
Crafting this decadently delicious dessert at home is shockingly simple and requires only a handful of ingredients you likely already have in your pantry. You can impress your friends and family with minimal effort while satisfying your sweet tooth without any pre-packaged ice cream. This homemade cookie butter ice cream not only allows for customization—swap ingredients as needed—but is also a fantastic make-ahead option perfect for gatherings or a solitary indulgence. Dive into the joy of creating your own ice cream masterpiece that will keep everyone coming back for seconds!
Why Make This Recipe
Creating your own ice cream at home gives you control over ingredients and flavor combinations. With rich heavy cream and whole milk as the base, you’re guaranteed an incredibly creamy texture that rivals any store-bought option. The indulgent taste of cookie butter combined with crunchy Biscoff cookies takes this dessert to another level, making it a standout when served at parties or family affairs.
Making this recipe also means you can whip it up quickly—most of the work is done in an ice cream maker, which does the churning for you. You’ll save money on overpriced gourmet ice cream while indulging in a unique flavor profile that’s not easily found in stores. Lastly, the make-ahead nature of this homemade cookie butter ice cream means you can prepare it in advance, ensuring you’re always ready to satisfy an ice cream craving at a moment’s notice.
How to Make Homemade Cookie Butter Ice Cream
Ingredients
- 2 cups heavy cream
- 1 cup whole milk
- 3/4 cup sugar
- 1 tablespoon vanilla extract
- 1 teaspoon ground cinnamon
- 1/2 cup crushed Biscoff cookies
- 1/2 cup cookie butter
Directions
In a mixing bowl, whisk together the heavy cream, whole milk, sugar, vanilla extract, and ground cinnamon until the sugar is fully dissolved. This should take about 2-3 minutes of steady whisking.
Pour the mixture into an ice cream maker. Churn according to the manufacturer’s instructions. This typically takes around 15-20 minutes, or until the mixture thickens to a soft-serve consistency.
During the last few minutes of churning, confidently add the crushed Biscoff cookies to the mixture. Make sure to incorporate them evenly to distribute that delightful crunch throughout your ice cream.
Transfer half of the churned ice cream to a freezer-safe container. Drizzle a generous swirl of cookie butter over this layer. Add the remaining ice cream on top and swirl in more cookie butter for an added treat.
Freeze for at least 4 hours, or until the ice cream is firm to the touch.
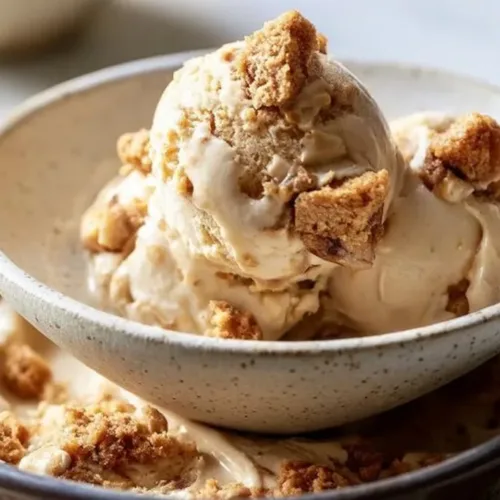
Once ready, serve a scoop or two in a bowl or cone and enjoy the fruit of your labor – your homemade cookie butter ice cream!
How to Serve Homemade Cookie Butter Ice Cream
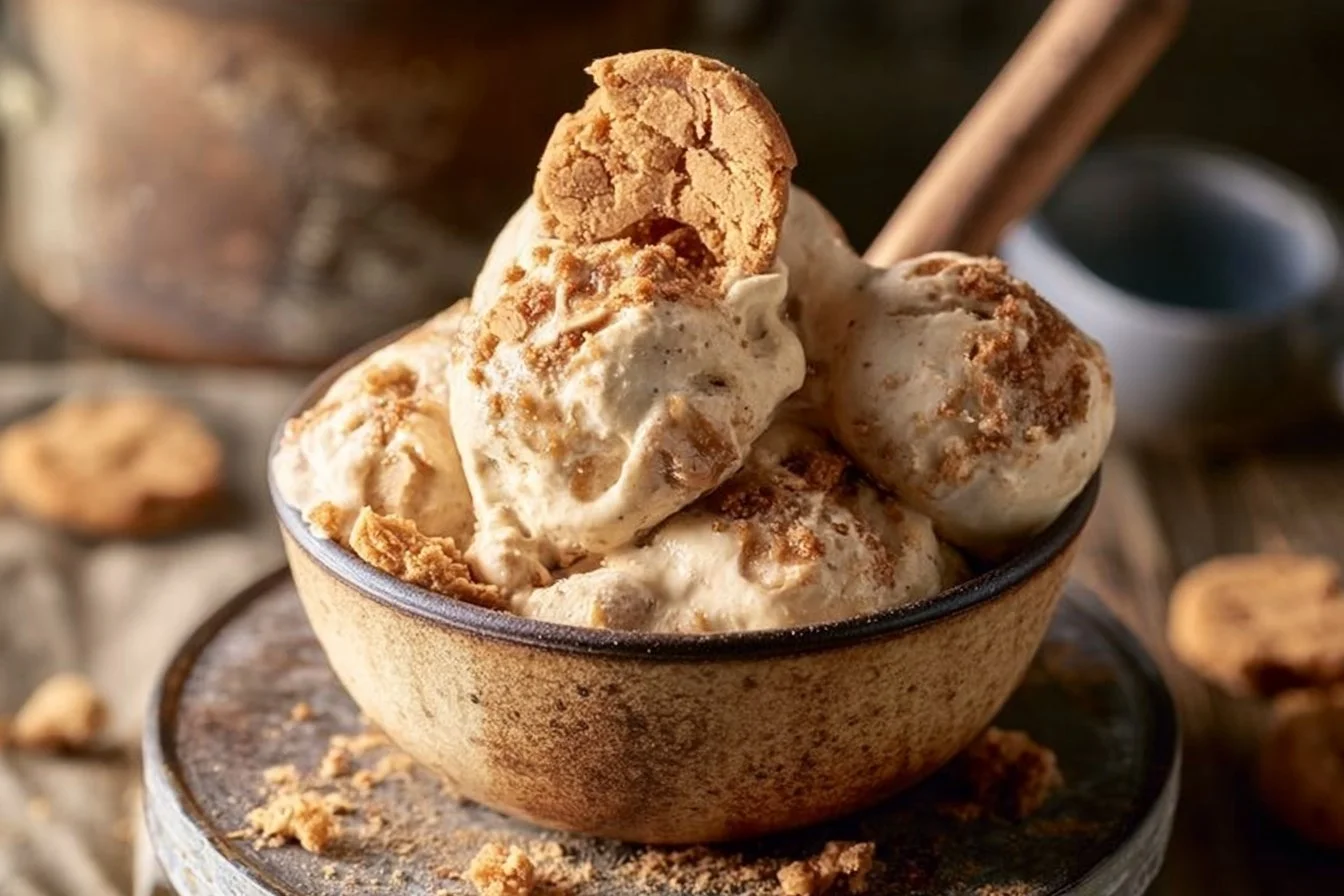
For an optimal experience, serve your homemade cookie butter ice cream straight from the freezer while it’s still chilled but not rock solid—allowing it to soften for a couple of minutes helps achieve that perfect scoopable texture. Presentation is key; consider serving it in waffle cones or elegant dishes topped with an extra drizzle of cookie butter and a sprinkle of crushed Biscoff cookies for visual appeal.
This ice cream pairs beautifully with a warm chocolate brownie or a slice of pie. For an even richer experience, serve it alongside a cup of coffee or a chocolate stout beer. A few chocolate shavings or a sprig of mint can elevate your dish, making it not just a dessert but a show-stopping centerpiece.
How to Store Homemade Cookie Butter Ice Cream
When it comes to storing homemade cookie butter ice cream, using an airtight container is essential to maintain freshness and prevent ice crystals from forming. Ideally, store it in a shallow container as this helps it freeze evenly and allows for easier scooping. It can last in your freezer for up to 2 weeks, although its deliciousness might make it disappear sooner than that.
If you need to freeze it for an extended period, consider double-wrapping it with plastic wrap before sealing it in an airtight container to keep it in peak condition. To bring it back to the perfect softness for serving, simply let it sit at room temperature for about 5-10 minutes before scooping.
Tips to Make Homemade Cookie Butter Ice Cream
Chill Ingredients: For an easier blending process, make sure your heavy cream and milk are cold before mixing; this will help in achieving a creamier consistency.
Customize the Crunch: You can substitute the Biscoff cookies for any other crunchy cookie you enjoy, such as gingersnaps or graham crackers, for a different flavor twist.
Prevent Ice Crystals: Keep the churned ice cream tightly packed in its container to prevent air pockets that can lead to ice crystals.
Double the Batch: Consider making a double batch if you’re serving guests, as it’s always a crowd-pleaser!
Test for Flavor: Don’t hesitate to adjust the sweetness or spice levels during the mixing stage. Add more cinnamon if you’re feeling adventurous!
Use Full-Fat Ingredients: Sticking to full-fat heavy cream and whole milk ensures the richest, creamiest texture.
Infuse Flavors: For an added layer of complexity, infuse your cream with other spices like nutmeg or ginger.
Create Swirls: Be playful with the cookie butter; use a skewer to create artistic swirls for an eye-catching presentation.
Leftover Cookie Butter: Don’t throw away excess cookie butter; it’ll make a delightful topping for pancakes, waffles, or toast!
Watch the Time: Keep an eye on your ice cream as it churns; over-churning can lead to a butter-like consistency rather than smooth ice cream.
Variations
Vegan Cookie Butter Ice Cream: Substitute heavy cream and whole milk with full-fat coconut milk and coconut cream. Use maple syrup in place of sugar for a naturally sweetened version that still delivers on creaminess.
Nutty Delight: Add in 1/2 cup of chopped nuts, such as pecans or walnuts, to the ice cream during the last few minutes of churning for an excellent crunch and richness.
Spicy Cookie Butter Twist: Enhance your ice cream’s flavor by adding a tablespoon of pumpkin pie spice or chai spice blend for a warm, comforting kick.
Citrus Swirl: Incorporate a teaspoon of orange or lemon zest into the ice cream mixture for a refreshing burst of citrus that contrasts delightfully with the sweetness of the cookie butter.
Choco-Cookie Fusion: Mix in chocolate chips or chunks along with the crushed Biscoff cookies for a chocolatey surprise in every scoop.
FAQs
Can I make this ahead of time?
Absolutely! This homemade cookie butter ice cream can be prepared in advance. It’s perfect for parties, and it will keep well in the freezer for about two weeks. Just remember to let it soften for 5-10 minutes before you serve it.
How do I store leftovers?
For storage, transfer any leftovers to an airtight container and keep it in the freezer. Make sure it’s tightly closed to prevent freezer burn, and try to consume it within two weeks for the best texture and flavor.
Can I freeze this dish?
Yes, this ice cream is designed specifically for freezing. After churning, it should be transferred to a suitable container and kept in the freezer until solid.
What can I substitute for cookie butter?
If you can’t find cookie butter, you can use Nutella or any creamy nut butter as a tasty alternative. The flavor will vary, but it will remain delicious.
How do I prevent ice crystals?
To avoid ice crystals, store your ice cream in a shallow container and ensure it is packed tightly. Additionally, minimizing air exposure in storage by using an airtight container can help.
Can I double/halve this recipe?
Yes, you can easily adjust the quantities. Just remember to keep an eye on the texture during churning, as smaller or larger batches may require slight timing adjustments.
How do I know when it’s done?
Your ice cream is ready when it has thickened to a soft-serve consistency. It should have a smooth, creamy texture and hold its shape when scooped.
Can I use an alternative ice cream maker?
Yes! If you don’t have a traditional ice cream maker, you can use a high-speed blender or food processor. Just blend the mixture until creamy and then pour it into a container to freeze, stirring every 30 minutes for a couple of hours until it reaches the desired consistency.
Cookie Butter Ice Cream
Ingredients
Base Ingredients
- 2 cups heavy cream Use full-fat for creaminess.
- 1 cup whole milk Use full-fat for best results.
- 3/4 cup sugar
- 1 tablespoon vanilla extract
- 1 teaspoon ground cinnamon Adjust or add more to taste.
Mix-ins
- 1/2 cup crushed Biscoff cookies For texture and flavor.
- 1/2 cup cookie butter For swirling.
Instructions
Preparation
- In a mixing bowl, whisk together the heavy cream, whole milk, sugar, vanilla extract, and ground cinnamon until the sugar is fully dissolved (about 2-3 minutes).
Churning
- Pour the mixture into an ice cream maker and churn according to the manufacturer’s instructions (typically 15-20 minutes until thickened to a soft-serve consistency).
- During the last few minutes of churning, add the crushed Biscoff cookies to the mixture, ensuring even distribution.
Swirling and Freezing
- Transfer half of the churned ice cream to a freezer-safe container. Drizzle a swirl of cookie butter over this layer and top with the remaining ice cream. Swirl in more cookie butter.
- Freeze for at least 4 hours, or until firm.
Serving
- Serve a scoop in a bowl or cone and enjoy! For the best experience, let it soften for a couple of minutes for the perfect scoopable texture.