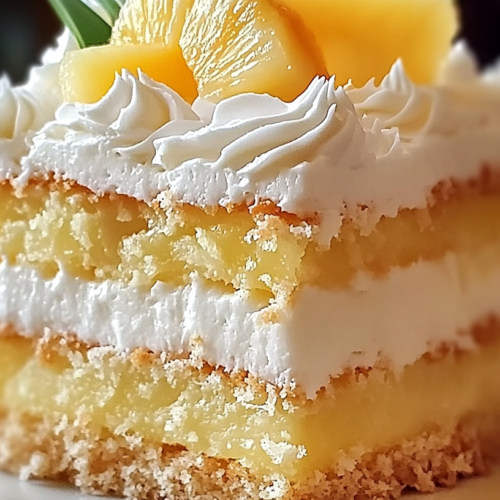
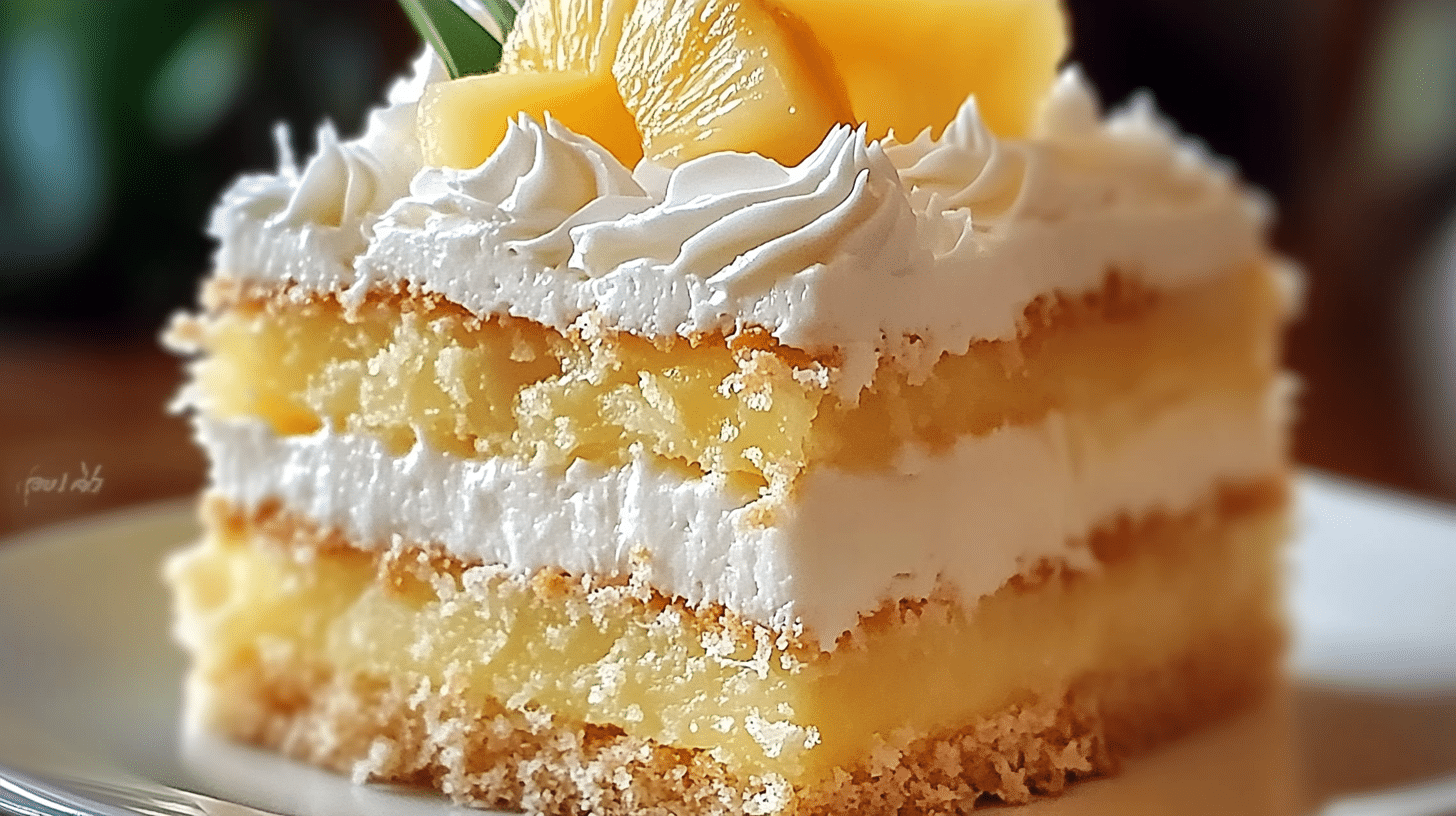
I first tasted a version of this cake at a potluck where the hostess simply called it “Sunshine Cake.” One bite in, and I knew I had to recreate it—but with a little more coconut magic. This Pineapple Coconut Dream Cake is my twist on that sunny classic, and I promise it lives up to its name. It’s cool, creamy, loaded with crushed pineapple, and topped with a coconut-kissed whipped layer that melts like a dream on your tongue.
It’s one of those fridge cakes that’s even better the next day, which makes it a home cook’s best friend for easy entertaining or lazy weekends. Trust me, this is the cake you bring to the picnic and everyone asks for the recipe.
Why You’ll Love This Recipe
- Tropical flavor that’s light, bright, and irresistible
- Easy pantry-friendly ingredients (hello, cake mix shortcut!)
- No fancy equipment or baking skills required
- Perfect make-ahead dessert for gatherings
- Kid-approved and potluck-perfect
- Cool and creamy texture that’s super refreshing
Recipe Snapshot
| Category | Cuisine | Prep Time | Cook Time | Total Time | Yield | Skill Level |
|---|---|---|---|---|---|---|
| Dessert | American | 15 mins | 25 mins | 40 mins + chill | 12 servings | Easy |
Ingredients
- Yellow cake mix – The base of our cake, soft and golden
- Crushed pineapple (with juice) – Adds tropical sweetness and moisture
- Sweetened shredded coconut – Toasty, chewy, and packed with flavor
- Instant vanilla pudding mix – Gives the topping a rich, creamy texture
- Cold milk – Helps the pudding set up properly
- Whipped topping, thawed – Makes the dreamy, cloud-like top layer
Full recipe card is below.
How to Make It
1. Bake the cake
Prepare the yellow cake mix according to the package directions, but don’t overmix—we want a light crumb! Pour into a greased 9×13-inch baking dish and bake as directed. Let it cool completely.
Caroline’s Tip: You can add a splash of vanilla or coconut extract to the batter for extra depth.
2. Soak with pineapple
Once the cake is cool, use a fork to poke holes all over the top. Spoon the entire can of crushed pineapple with its juice over the cake. Gently spread it into an even layer, letting that juice soak in.
You’ll see the cake drinking it up like a sponge—that’s where the magic starts!
3. Make the creamy topping
In a mixing bowl, whisk together the pudding mix and cold milk until it thickens—about 2 minutes. Fold in the whipped topping until smooth and dreamy.
It should look like the fluffiest pineapple cloud you’ve ever seen.
4. Frost and sprinkle
Spread the pudding-whip mixture over the pineapple layer. Then sprinkle generously with sweetened shredded coconut.
Chill for at least 2 hours before serving (overnight is even better).
Pro Tips for Success
- Use cold milk—warm milk won’t let the pudding set up properly.
- Let the cake cool completely before adding pineapple or topping.
- Make it ahead: it gets better as it chills.
- Add toasted coconut on top for extra texture and golden color.
- Want a firmer topping? Use 2% or whole milk for the pudding.
Flavor Variations
- Swap vanilla pudding for coconut cream pudding for extra island vibes
- Use angel food cake or white cake for a lighter twist
- Add crushed nuts like pecans or macadamia for crunch
- Fold a little drained pineapple into the topping for texture
- Sprinkle with lime zest for a fresh citrusy pop
- Not sure what else pairs with pineapple? Here’s a whole list of flavor combinations that go beautifully with pineapple—perfect if you want to get creative with your cake!
Serving Suggestions
- Serve chilled with a sprig of mint or pineapple wedge
- Lovely with iced tea, lemonade, or a fruity sangria
- For an extra treat, add a drizzle of caramel or passionfruit syrup
Make-Ahead & Storage
Make this cake up to 24 hours ahead—just cover and refrigerate. It keeps beautifully for 3–4 days in the fridge.
Leftovers
Store any leftovers covered in the fridge. You can also layer leftover slices into parfait cups with extra whipped topping for a fun dessert redo!
Freezing
Yes! You can freeze the baked, cooled cake without toppings for up to 2 months. Thaw in the fridge, then add the pineapple and topping fresh.
Reheating
This cake is best enjoyed cold, so no reheating needed! Just let it chill and slice away.
FAQs
Can I use fresh pineapple instead of canned?
Yes, but it must be finely chopped and juicy—fresh pineapple tends to be drier, so you may need to add extra juice.
Can I use homemade whipped cream?
Absolutely! Just be sure to stabilize it with a bit of powdered sugar or gelatin so it holds up.
Can I toast the coconut?
Yes, and I highly recommend it for a golden, nutty flavor. Just toast in a dry skillet until fragrant.
Can I make it gluten-free?
Yes—just use a gluten-free yellow cake mix and check your pudding brand for GF labeling.
Final Thoughts
If sunshine were a dessert, this would be it. Pineapple Coconut Dream Cake is easy, joyful, and just the kind of treat that makes people smile after one bite. I hope it finds a happy spot in your recipe box, just like it did in mine. Let me know if you give it a try—I always love hearing how your bakes turn out.

Pineapple Coconut Dream Cake
Equipment
- Mixing Bowl
- Whisk
- 9×13-inch Baking Dish
Ingredients
Cake Base
- 1 box yellow cake mix prepare according to package directions
Pineapple Layer
- 1 can crushed pineapple with juice
Creamy Topping
- 1 box instant vanilla pudding mix
- 2 cups cold milk
- 1 container whipped topping thawed
- 1 cup sweetened shredded coconut
Instructions
- Prepare the yellow cake mix according to package directions. Pour into a greased 9×13-inch baking dish and bake. Let it cool completely.
- Use a fork to poke holes all over the cooled cake. Spoon the entire can of crushed pineapple (with juice) over the top and spread evenly.
- In a bowl, whisk the pudding mix with cold milk for 2 minutes until thick. Fold in the whipped topping until smooth.
- Spread the creamy mixture over the pineapple layer. Sprinkle generously with shredded coconut.
- Chill the cake for at least 2 hours before serving. Overnight is best.

