
Have you ever opened a jar of homemade jam, inhaling the sweet, fragrant aroma wafting up from the jar and taking a spoonful only to find an explosion of flavor that transports you back to sunny summer afternoons? The allure of canning preserves reaches beyond simple ingredients; it’s an experience brimming with nostalgia and creativity. This culinary craft transforms seasonal fruits into delectable spreads, allowing you to savor the essence of summer all year round with every jar you pop open.
Canning is not only a fun way to spend a weekend but also a unique method to ensure minimal waste while preserving the bounty of your garden or local market. With just a few ingredients and some simple techniques, you can create versatile jams that pair beautifully with breakfast, snacks, or even as gifts. This guide invites you on a delightful journey through canning jam recipes, home canning techniques, and even pepper jelly variations that promise to satisfy your taste buds.
Why Make This Recipe
Diving into the world of canning opens up an array of advantages, each enhancing your cooking experience.
You’ll relish the bright, fruity flavors bursting in every jar of jam, a stark contrast to the store-bought alternatives filled with additives. The freshness alone is a game-changer.
Preserving your fruits not only saves money but also allows you to control the ingredients, reducing sugar and avoiding preservatives whenever you like.
Imagine the satisfaction of creating something from scratch that can bring joy to family and friends. Whether you’re hosting brunch or simply spreading a touch of sunshine on your toast, these homemade delights are sure to impress.
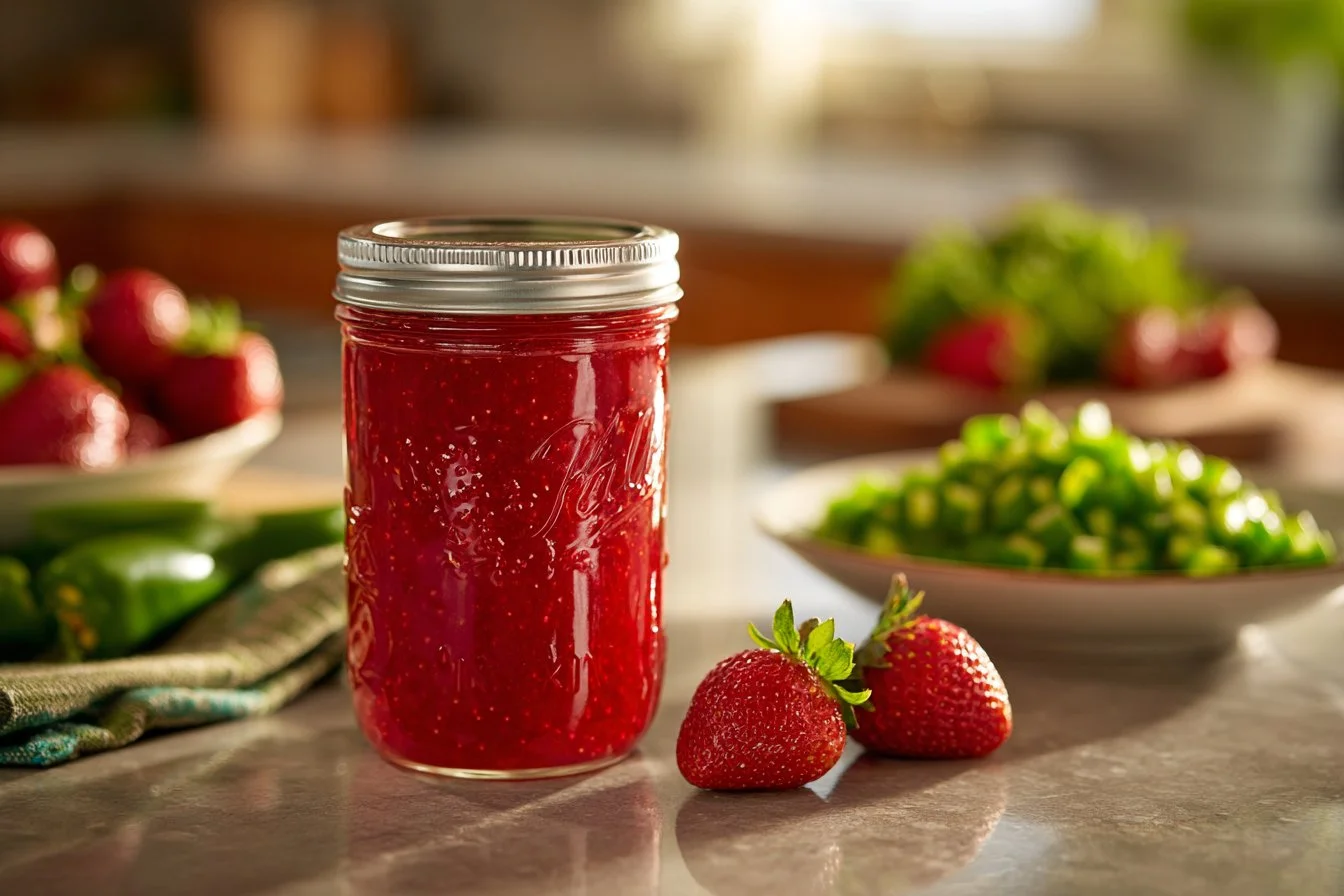
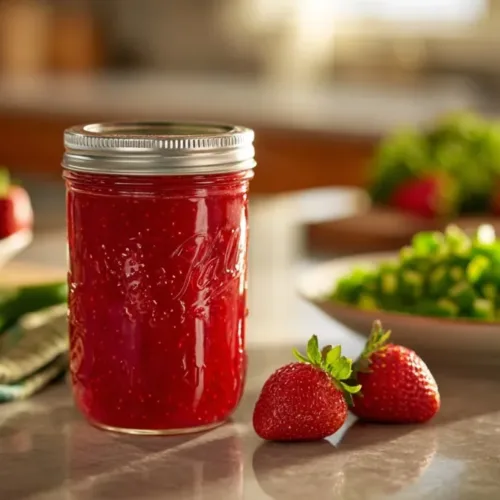
How to Make Pin by Haley Galema on Food | Canning Jam Recipes, Home Canning Recipes, Pepper Jelly Recipes
Ingredients
- 4 cups of fresh fruit (strawberries, raspberries, or peaches)
- 1 cup of granulated sugar
- 1 tablespoon of lemon juice
- 1 packet of fruit pectin
- 1/4 teaspoon of salt
- Optional: chopped jalapeños for a spicy pepper jelly twist
Directions
- Prepare Your Jars: Start by sterilizing your canning jars and lids in boiling water for at least 10 minutes. This step is crucial for food safety and to preserve the jam.
- Cook the Fruit: In a large pot over medium heat, combine the fresh fruit, sugar, and salt. Stir gently, allowing the mixture to bubble and heat for about 5-7 minutes, or until the fruit softens and releases its juices.
- Add Lemon Juice and Pectin: Stir in the lemon juice and fruit pectin, bringing the mixture back to a rolling boil. Cook for an additional 2-4 minutes, or until the mixture thickens enough to coat the back of a spoon.
- Fill the Jars: Carefully ladle the hot jam into your sterilized jars, leaving about 1/4 inch of headspace at the top. Wipe the rim of each jar to ensure a proper seal.
- Seal and Process: Place the lid on each jar and secure it with a band. Process the jars in a boiling water bath for 10-15 minutes.
- Cool: After processing, remove the jars and let them cool completely on a clean towel or rack for 24 hours.
This vibrant jam will set beautifully, waiting to be enjoyed!
How to Serve Pin by Haley Galema on Food | Canning Jam Recipes, Home Canning Recipes, Pepper Jelly Recipes
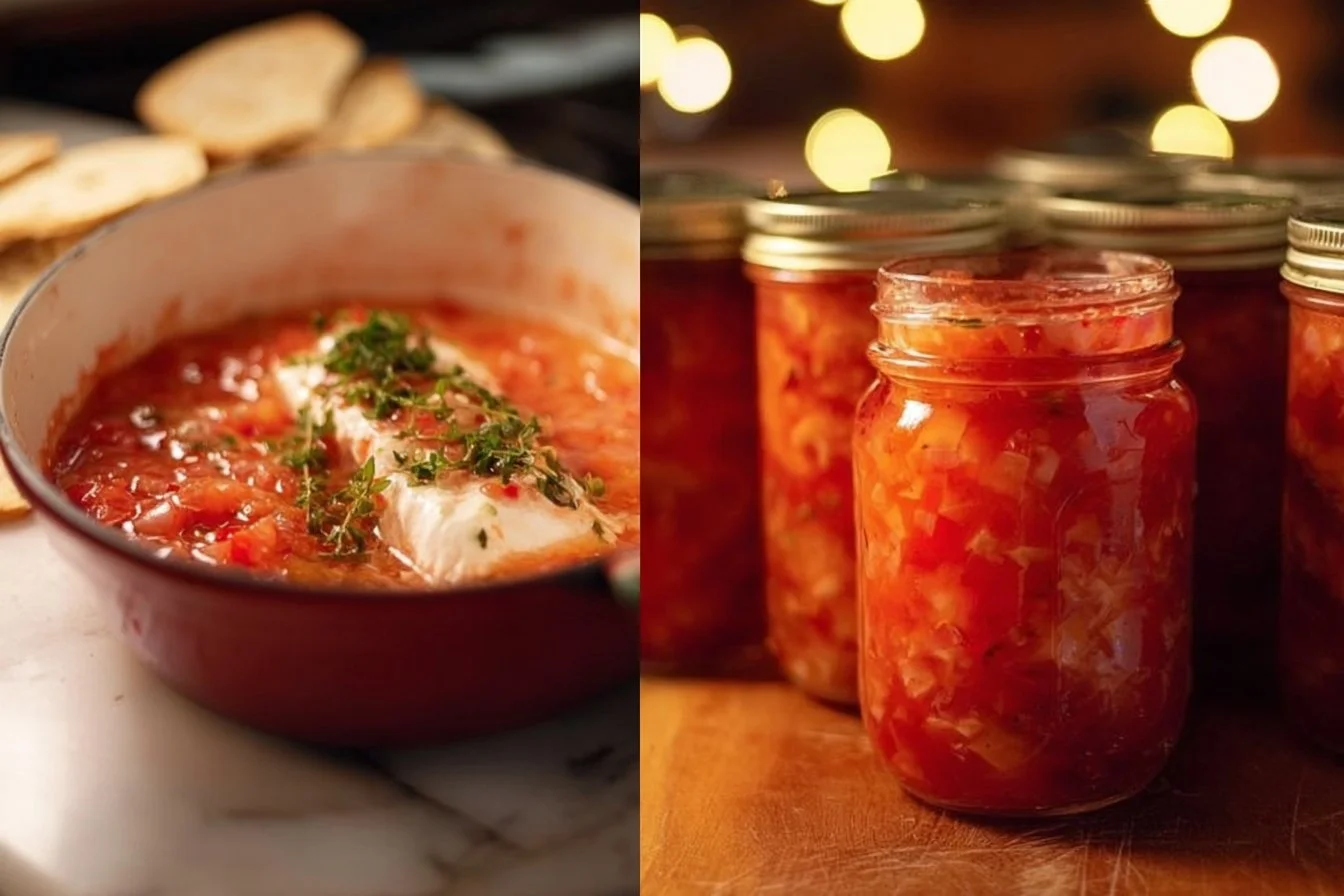
Serving your homemade jam is a delightful opportunity to impress your guests! For the best experience, serve the jam at room temperature; this allows the flavors to shine through. Consider pouring the jam into a beautiful glass jar with a decorative label for presentation, and accompany it with freshly baked scones or bread.
Elevate your dish by garnishing with fresh mint leaves or slices of fruit that mirror the jam inside. For special occasions, enjoy with a cheese platter featuring sharp cheddar or creamy brie, complemented by a glass of sparkling wine.
How to Store Pin by Haley Galema on Food | Canning Jam Recipes, Home Canning Recipes, Pepper Jelly Recipes
For optimum freshness, store your sealed jars in a cool, dark place; they can last for up to a year. After opening, keep the jam in the refrigerator, where it should stay good for about 3-4 weeks. If you want to preserve it for an extended period, freezing is also an option—just ensure it’s in a freezer-safe container, and it should last for up to a year.
To reheat, simply place the jar in a warm water bath or microwave for short intervals, taking care to avoid overheating. Always check for any signs of spoilage, such as an off smell or mold, especially if stored for long periods.
Tips to Make Pin by Haley Galema on Food | Canning Jam Recipes, Home Canning Recipes, Pepper Jelly Recipes
- Prep Hacks: Use a food processor to chop fruit quickly and evenly.
- Substitutions: For a lower-sugar version, you can swap granulated sugar for a sugar substitute designed for canning.
- Avoiding Mistakes: To prevent jars from not sealing, ensure the rims are dry before placing the lids on and ensure they’re properly processed in boiling water.
- Equipment Recommendation: Use a jar lifter for handling hot jars—it’s a much safer and more efficient tool.
- Batch Cooking: Double your recipe to make a larger batch—it’s perfect for gifts during the holidays.
- Texture Tips: If your jam is too runny, simply reheat and add more pectin following the package instructions.
- Flavor Booster: Experiment with herbs like basil or thyme for a unique flavor twist.
- Dietary Substitutions: Easy to adapt for vegan diets by replacing pectin derived from fruits or veggies.
- Transform Leftovers: Use leftover jam as a glaze for meats or mix with yogurt for a fruity dip.
- Make-ahead Magic: Make larger batches to save time during busy seasons.
Variations
- Sunny Citrus Jam: Brighten your jam with a mix of oranges and lemons for a refreshing zing that’s perfect on warm biscuits or pancakes.
- Spicy Sweet Pepper Jelly: Infuse your pepper jelly with jalapeños for a delightful kick. It’s perfect for serving over cream cheese with crackers at parties.
- Berry Medley Jam: Combine strawberries, blueberries, and raspberries for a beautiful, colorful jam with a sweet and slightly tart flavor profile that pairs deliciously with toast.
- Herb-Infused Jam: Add fresh herbs like rosemary to your fruit mixture for an aromatic and savory twist that’s fantastic with roasted meats.
- Tropical Paradise Jam: Use pineapple and coconut for a taste of the tropics in your pantry—a delightful treat that transports you to sandy beaches with each bite!
FAQs
Can I make this ahead of time?
Yes! Canned jams can be made well in advance, with a shelf life of up to a year when stored properly. Just remember to label your jars with the date.
How do I store leftovers?
If you have any opened jam left, store it in the refrigerator in an airtight container, where it will remain fresh for 3-4 weeks.
Can I freeze this dish?
Absolutely! Freezing is a great option for long-term storage. Just ensure the jam is stored in a freezer-safe container and consumed within a year.
What can I substitute for sugar?
For a lower-sugar option, you can use alternatives like Stevia or other sugar substitutes designed for canning, but always check for package instructions regarding quantities.
How do I prevent burning?
To avoid burning your jam, cook on medium to low heat, stirring frequently and keeping an eye on the temperature to achieve a gentle simmer.
Is this gluten-free?
Yes, the ingredients in this jam recipe are naturally gluten-free, making it suitable for those with gluten sensitivities.
Can I double or halve this recipe?
Certainly! Just be mindful of the cooking times; smaller batches may cook faster, while larger ones may take slightly longer.
What if I don’t have a canning pot?
If you don’t have a canning pot, a large stockpot works just as effectively for the boiling water process. Just make sure the jars are covered by at least 1-2 inches of water.
By following these guidelines and incorporating your own personal touches, you’re set to craft delectable jars of happiness that will impress family and friends alike. Enjoy the sweet satisfaction of homemade canned jams, knowing you’ve created something truly special!
Homemade Jam
Ingredients
Main Ingredients
- 4 cups fresh fruit (strawberries, raspberries, or peaches) You can mix different fruits for a medley jam.
- 1 cup granulated sugar Substitutions can be made with sugar alternatives.
- 1 tablespoon lemon juice Fresh lemon juice gives the best flavor.
- 1 packet fruit pectin Follow packet instructions for proper usage.
- 1/4 teaspoon salt Enhances the flavor of the jam.
- optional chopped jalapeños For a spicy pepper jelly twist.
Instructions
Preparation
- Sterilize your canning jars and lids in boiling water for at least 10 minutes.
- In a large pot, combine the fresh fruit, sugar, and salt over medium heat, stirring gently.
- Allow the mixture to heat for about 5-7 minutes until the fruit softens.
- Stir in lemon juice and pectin, then bring to a rolling boil and cook for an additional 2-4 minutes.
- Ladle the hot jam into sterilized jars, ensuring to leave 1/4 inch of headspace.
- Wipe the rim of each jar for a proper seal and place the lid on securely.
- Process the jars in a boiling water bath for 10-15 minutes.
- Remove jars after processing and let them cool completely on a clean towel for 24 hours.