
Are you craving a sweet, satisfying snack that won’t break your healthy eating habits? Imagine a chewy, nutty protein bar that’s packed with flavor and requires zero baking. These easy no-bake protein bars are not just delicious; they’re also incredibly simple to whip up! Whether you’re gearing up for a busy day, hitting the gym, or just need a quick boost during the afternoon slump, these bars are the perfect solution. They’re also budget-friendly and perfect for meal prep, allowing you to enjoy a nutritious snack whenever the craving hits. With just a few pantry staples, you can make a batch of them in no time. Let’s dive into how to make the best easy no bake protein bar that will keep you coming back for more!
Why Make This Recipe
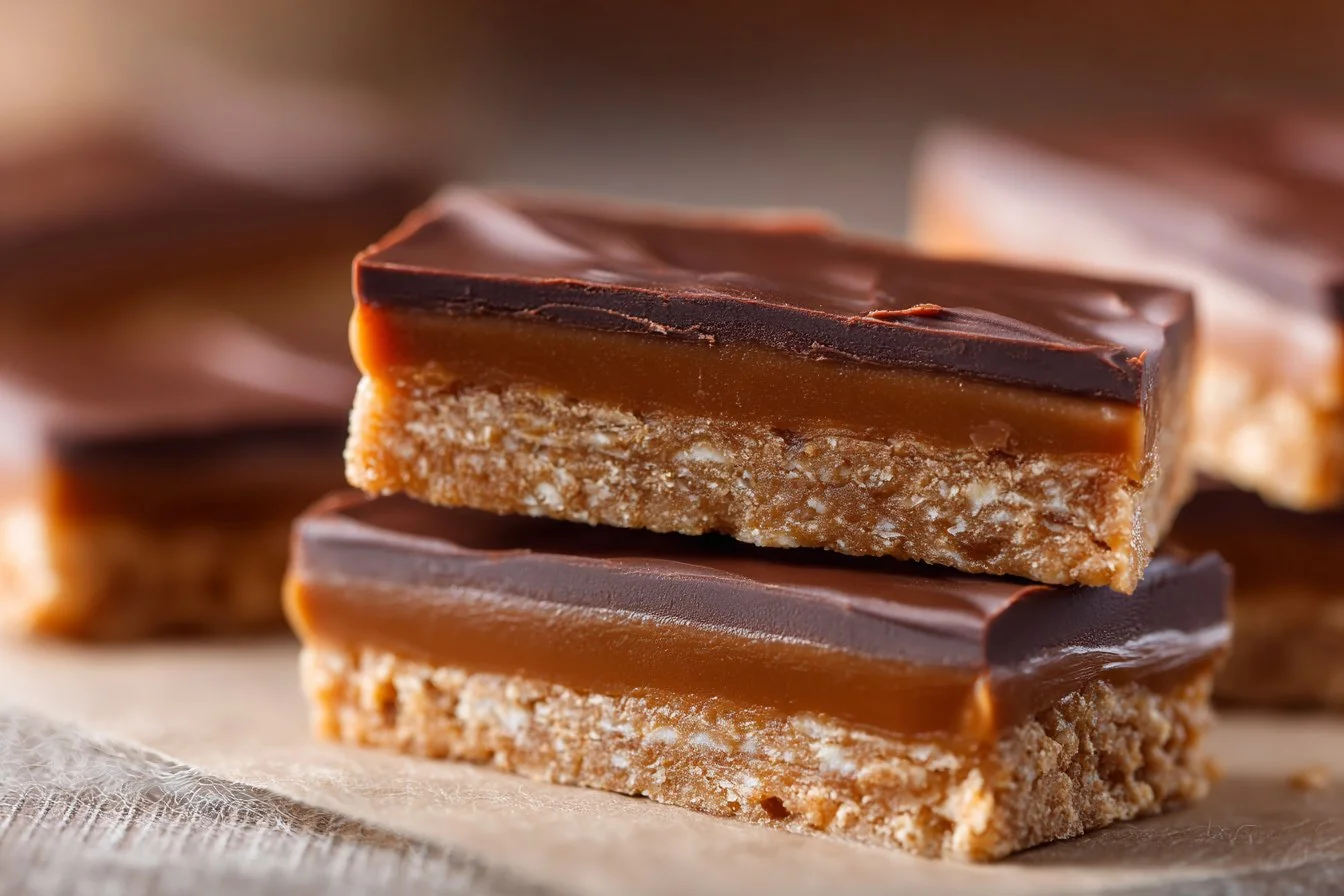
First off, the taste is a game-changer. The combination of nut butter, sweet maple syrup, and rich chocolate chips creates a flavor burst that feels indulgent yet wholesome. Secondly, the speed of preparation is unbeatable. With only a few minutes needed for mixing and refrigerating, you’re just a quick stir away from enjoying these delightful bars. Additionally, these protein-packed treats are versatile; you can tweak the ingredients based on what you have on hand. Whether it’s a busy weekday morning or a cozy weekend afternoon, this recipe can be your go-to solution for a nutritious snack.
How to Make The Best Easy No Bake Protein Bar
Ingredients
- 1 cup rolled oats
- 1/2 cup nut butter (like almond or peanut butter)
- 1/4 cup maple syrup or agave nectar
- 1/2 cup protein powder (plant-based if vegan)
- 1/4 cup chocolate chips (dairy-free for vegan option)
- 1/4 cup chopped nuts (optional)
- 1/2 teaspoon vanilla extract
Directions
In a large mixing bowl, combine the rolled oats, nut butter, maple syrup, protein powder, chocolate chips, chopped nuts, and vanilla extract. Use a spatula to mix until all the ingredients are completely blended, ensuring every oat is coated.
Line an 8×8 inch baking dish with parchment paper for easy removal later.
Pour the mixture into the prepared dish. Use your spatula or a piece of parchment paper to press the mixture firmly and evenly into the dish, ensuring it’s packed tightly.
Place the baking dish in the refrigerator and allow it to chill for at least 30 minutes. This will help the bars firm up nicely.
Once set, remove from the fridge, lift out the mixture using the parchment paper, and cut into bars or squares. Enjoy immediately, or store leftovers in an airtight container in the fridge for up to a week.
How to Serve The Best Easy No Bake Protein Bar
These protein bars are incredibly versatile in their serving temperatures; they can be enjoyed chilled right out of the fridge, or let them sit at room temperature for a softer texture. For an appealing presentation, stack them on a plate or wrap them individually for on-the-go snacking. Pair your bars with a refreshing smoothie or a cup of herbal tea for a balanced snack experience. For a special touch, consider drizzling a little extra melted chocolate over the top or sprinkling with sea salt before serving.
How to Store The Best Easy No Bake Protein Bar
To keep your protein bars fresh, store them in an airtight container in the refrigerator. They will stay good for about 5-7 days, making them an ideal make-ahead snack. If you want to extend their shelf life, you can freeze these bars. Wrap each one in plastic wrap or parchment paper, then place them in a freezer-safe bag. They’ll last for 2-3 months! When you’re ready to enjoy, simply thaw them in the fridge overnight or leave them at room temperature for a few hours. You’ll know they’re still good if they smell fresh and the texture is still slightly firm.
Tips to Make The Best Easy No Bake Protein Bar
Use freshly opened nut butter for the best flavor and texture; older nut butters can be dry.
Try sunflower seed butter as a nut-free substitute if allergies are a concern.
Avoid overmixing the ingredients; a gentle fold will maintain a chewy texture.
Use silicone molds instead of a baking dish for fun shapes and easy release.
Make a double batch for longer-lasting snacks; they freeze well!
Adjust sweetness to your taste by adding more or less maple syrup or agave.
Add spices like cinnamon or nutmeg for a warm flavor twist.
Incorporate dried fruits like cranberries or raisins for added sweetness and chewiness.
Drizzle with nut butter or chocolate before refrigeration for a decadent touch.
Replace chocolate chips with your favorite add-ins like coconut flakes or pumpkin seeds.
Variations
Choco-Nutty Crunch
For extra crunch, swap in crispy brown rice cereal for half of the rolled oats. This adds a delightful crispy texture while keeping the indulgent chocolate flavor intact.
Fruity Protein Bars
Add 1/2 cup of dried fruits like cranberries or apricots to the base mixture. This variation offers a burst of tartness and extra fiber, making for a deliciously sweet and chewy treat.
Tropical Bliss Bars
Incorporate 1/4 cup of shredded coconut and 1/4 cup crushed pineapple for a tropical twist. These bars will transport you to a beachy paradise while still being nutritious.
Spicy Chocolate Ginger Bars
Add 1/2 teaspoon of ground ginger and a pinch of cayenne pepper for a spicy kick. This version adds an interesting depth of flavor that champagne with the chocolatey goodness perfectly.
Nut-Free Energy Bars
For a nut-free version, swap out nut butter with pumpkin seed butter and increase the oats to compensate. These bars are great for school snacks or for those with nut allergies.
FAQs
Can I make this ahead of time?
Absolutely! These protein bars can be made a few days in advance. In fact, letting them sit in the fridge overnight enhances their flavor and texture. Just store them in an airtight container until you’re ready to enjoy.
How do I store leftovers?
Keep your protein bars in an airtight container in the refrigerator. They will stay fresh for about 5-7 days. If you need to store them longer, consider freezing them!
Can I freeze this dish?
Yes! To freeze, wrap each bar in plastic wrap or aluminum foil, then place them in a freezer-safe bag. They will keep for up to three months. Thaw them in the fridge or at room temperature before enjoying.
What can I substitute for the nut butter?
If you’re looking for a nut-free option, you can use sunflower seed butter as a great alternative. Alternatively, you can try using tahini or coconut butter for a different flavor profile.
How do I prevent these bars from sticking?
Make sure to line your baking dish with parchment paper before pressing in the mixture. If you notice them sticking, use a spatula to gently lift them out from the edges.
Is this gluten-free?
Yes, as long as you use certified gluten-free rolled oats, these bars can be made gluten-free. Double-check your protein powder as well, as some brands may contain gluten.
Can I double/halve this recipe?
Definitely! You can easily adjust the ingredients to make more or fewer bars according to your needs. Just ensure that you use a dish accordingly sized if doubling or halving the recipe.
What if I don’t have an 8×8 inch baking dish?
If you don’t have an 8×8 inch baking dish, you can use any similarly sized dish or even smaller silicone molds for individual servings. Just adjust the thickness and refrigeration time accordingly.
These easy no-bake protein bars are sure to become a staple in your household. Not only are they tasty and energy-boosting, but the process of making them is so simple that you’ll want to share the joy with friends and family! Enjoy your homemade treats!
Easy No Bake Protein Bars
Ingredients
Main Ingredients
- 1 cup rolled oats
- 1/2 cup nut butter (like almond or peanut butter) Use freshly opened for best flavor.
- 1/4 cup maple syrup or agave nectar Adjust sweetness to taste.
- 1/2 cup protein powder (plant-based if vegan)
- 1/4 cup chocolate chips (dairy-free for vegan option)
- 1/4 cup chopped nuts (optional) Consider sunflower seed butter for nut-free options.
- 1/2 teaspoon vanilla extract
Instructions
Preparation
- In a large mixing bowl, combine the rolled oats, nut butter, maple syrup, protein powder, chocolate chips, chopped nuts, and vanilla extract. Use a spatula to mix until all the ingredients are completely blended.
- Line an 8×8 inch baking dish with parchment paper for easy removal later.
- Pour the mixture into the prepared dish. Use your spatula or a piece of parchment paper to press the mixture firmly and evenly into the dish.
- Place the baking dish in the refrigerator and allow it to chill for at least 30 minutes.
- Once set, remove from the fridge, lift out the mixture using the parchment paper, and cut into bars or squares.