
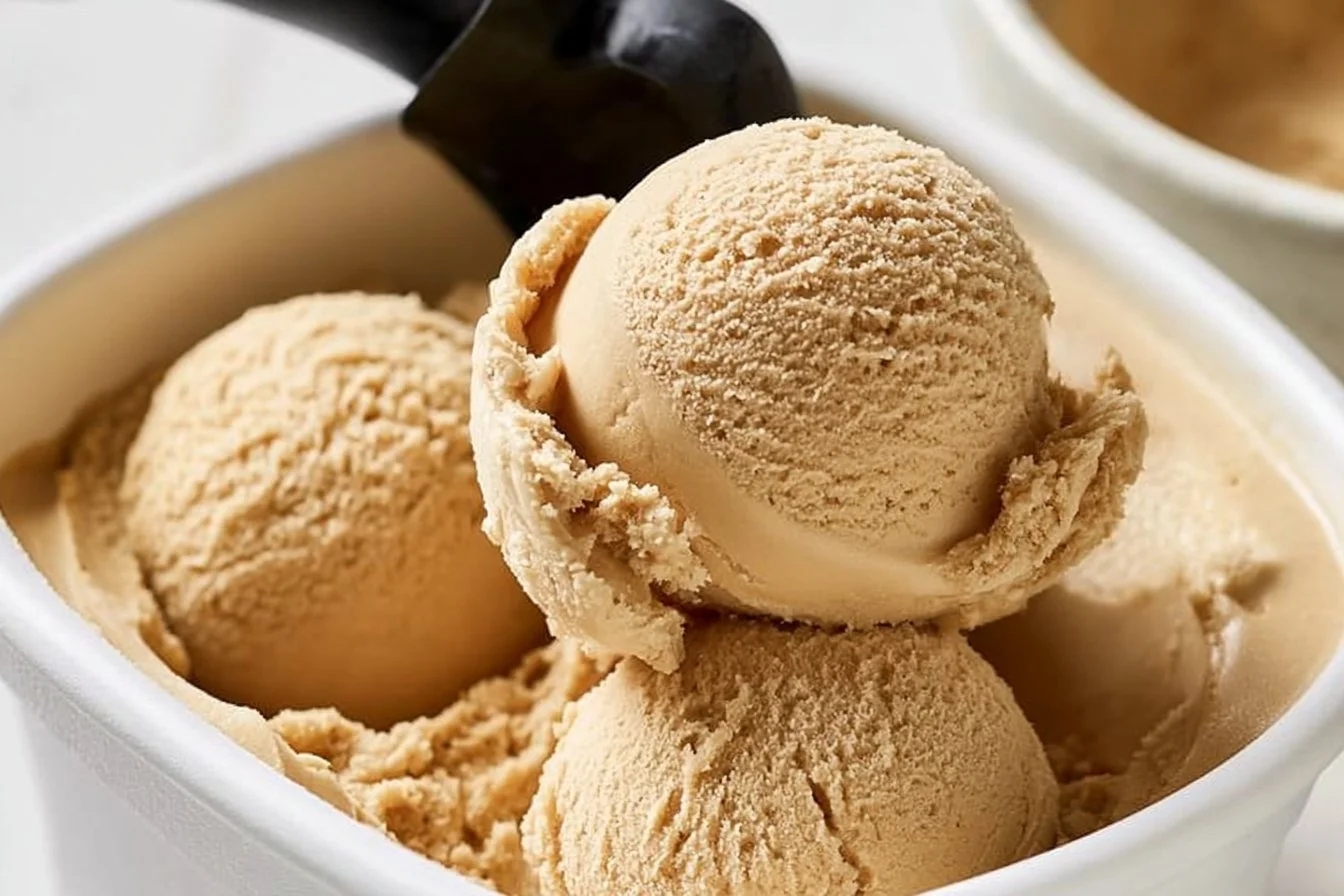
There’s something magical about the way the rich aroma of freshly brewed coffee intertwines with the sweet indulgence of cream. Picture this: a scoop of luscious coffee ice cream that melts in your mouth, leaving you craving more. Whether enjoyed on a hot summer day or as a perfect ending to a cozy dinner, coffee ice cream elevates any moment. This delightful treat strikes the ideal balance between bold coffee flavor and creamy sweetness, making it both a crowd-pleaser and a personal favorite. Plus, it’s incredibly easy to whip up at home, saving you time and money compared to store-bought varieties. Join me in exploring this simple recipe that promises to satisfy your sweet tooth and caffeine cravings alike!
Why Make This Recipe
First and foremost, the taste of homemade coffee ice cream is unlike any pre-packaged version. The fresh coffee flavor, combined with the creaminess of heavy cream and sweetened condensed milk, creates a decadent dessert that’s simply irresistible.
Creating this treat at home is not only straightforward, but it’s also a budget-friendly option. By using common pantry ingredients, you can make a delightful dessert that might be pricier at your local ice cream shop.
Also, consider the versatility of this recipe. You can easily incorporate additional flavors, such as chocolate or nuts, allowing you to tailor it to your taste preference and dietary needs. For a rich and creamy experience, coffee ice cream will always delight!
How to Make Coffee Ice Cream
Ingredients
- 2 cups heavy cream
- 1 cup sweetened condensed milk
- 1 cup brewed coffee (cooled)
- 1 teaspoon vanilla extract
- 1/2 cup milk
- Pinch of salt
Directions
- In a mixing bowl, combine the heavy cream, sweetened condensed milk, brewed coffee, vanilla extract, milk, and salt. Use a spatula to scrape down the sides, ensuring everything is well incorporated.
- Whisk until well combined and smooth, about 1-2 minutes. You’ll know it’s ready when there are no lumps and it has a silky consistency.
- Pour the mixture into an ice cream maker. Churn according to the manufacturer’s instructions until it reaches a soft-serve consistency, typically around 20-30 minutes.
- Transfer the ice cream to an airtight container. Freeze for at least 4 hours or until firm. This will give it that scoopable texture you’re looking for.
- Serve and enjoy your rich and creamy coffee ice cream! Add some chocolate sauce or chocolate shavings if desired.
How to Serve Coffee Ice Cream
Serve coffee ice cream straight from the freezer for the best texture. For an ideal serving temperature, let it sit out for about 5-10 minutes before scooping, allowing it to soften slightly.
Consider using elegant glass dishes or bowls for a stylish presentation. A drizzle of caramel or chocolate sauce, a sprinkle of crushed espresso beans, or a dollop of whipped cream can elevate the dish beautifully. This dessert pairs wonderfully with a shot of espresso or a warm chocolate brownie for added goodness.
How to Store Coffee Ice Cream
For the best flavor and texture, store your coffee ice cream in an airtight container to prevent freezer burn. It can remain fresh and delicious in the freezer for up to 2 weeks.
If you freeze it for longer, consider placing a layer of plastic wrap directly on the surface of the ice cream before sealing the container to maintain its creamy texture. To enjoy leftovers later, simply transfer the container to the refrigerator for about 15 minutes before scooping to make serving easier.
Tips to Make Coffee Ice Cream
- Prep Ahead: Chill your mixing bowl and whisk in the freezer for about 10 minutes before use to help the cream whip up faster.
- Alternative Ingredients: You can use almond milk or coconut milk in place of regular milk for a dairy-free version.
- Avoid Over-whipping: If you’re using a hand mixer or stand mixer, keep an eye on the texture; it should be thick enough to hold its shape but not turn into whipped cream.
- Ice Cream Maker Not Required: If you don’t have an ice cream maker, pour the mixture into a freezer-safe container and stir every 30 minutes until it’s frozen for about 4 hours.
- Flavor Boosters: Add chocolate chips or crushed nuts for added texture and taste.
- Perfect for Leftovers: Freeze any extra coffee you have and use it as a base for your ice cream, eliminating waste and enhancing flavor.
- Sip and Scoop: If you enjoy a stronger coffee flavor, use espresso instead of regular brewed coffee, or add instant coffee granules to the mixture.
- Make it a Mousse: Fold in a beaten egg white or stabilized whipped cream before freezing for a lighter, airier texture.
- Vary Your Base: You can mix in flavored creamers or syrups to switch up the taste – hazelnut or caramel would work beautifully.
- Store Wisely: Use an insulated ice cream container to maintain the creaminess of your ice cream longer.
Variations
- Vegan Coffee Bliss: Swap out the heavy cream for coconut cream and use coconut sweetened condensed milk to make a plant-based delight.
- Nutty Mocha Marvel: Stir in 1/2 cup of finely chopped walnuts or hazelnuts and 1/4 cup of cocoa powder to create a rich coffee-cocoa combination.
- Caramel Latte Dream: Drizzle caramel sauce into the mixture before churning for a sweet and salty twist that will leave your taste buds dancing.
- Coffee Citrus Surprise: Add a teaspoon of orange or lemon zest to your mixture for a refreshing, zesty kick that lightens the rich coffee flavor.
- Irish Coffee Ice Cream: Incorporate a tablespoon of Irish whiskey for an adult version that adds depth and warmth to the dessert.
FAQs
Can I make this ahead of time?
Absolutely! Coffee ice cream can be prepared well in advance and stored in the freezer. Just ensure it’s sealed tightly in an airtight container to preserve its flavor and texture.
How do I store leftovers?
Store any leftover coffee ice cream in an airtight container to prevent it from absorbing flavors from the freezer. It can typically last up to 2 weeks, but for the best taste, enjoy it sooner!
Can I freeze this dish?
Yes! This coffee ice cream freezes beautifully. Just be sure to let it sit at room temperature for a few minutes before scooping to soften slightly.
What can I substitute for sweetened condensed milk?
You can make homemade sweetened condensed milk using 1 cup of milk and 1/2 cup of sugar, simmered gently until reduced by half. Alternatively, look for vegan sweetened condensed milk made from coconut.
How do I prevent ice crystallization?
To prevent ice crystals from forming, make sure to churn the ice cream until it reaches a soft-serve consistency before transferring it to the freezer. Rapid churning incorporates more air and creates a smoother texture.
Is this recipe gluten-free?
Yes, all ingredients in this coffee ice cream recipe are gluten-free, making it suitable for those with gluten sensitivities.
Can I double/halve this recipe?
Certainly! This ice cream recipe is quite flexible; you can easily double or halve the quantities as needed for your occasion or batch size.
Next time you crave a frozen treat with a kick, this delightful coffee ice cream recipe is sure to satisfy! Enjoy the simplicity of making it at home, and relish every creamy, coffee-infused bite.

Coffee Ice Cream
Ingredients
Main Ingredients
- 2 cups heavy cream
- 1 cup sweetened condensed milk
- 1 cup brewed coffee (cooled)
- 1 teaspoon vanilla extract
- 1/2 cup milk
- 1 pinch salt
Instructions
Preparation
- In a mixing bowl, combine the heavy cream, sweetened condensed milk, brewed coffee, vanilla extract, milk, and salt. Use a spatula to scrape down the sides, ensuring everything is well incorporated.
- Whisk until well combined and smooth, about 1-2 minutes. You'll know it's ready when there are no lumps and it has a silky consistency.
Churning and Freezing
- Pour the mixture into an ice cream maker. Churn according to the manufacturer's instructions until it reaches a soft-serve consistency, typically around 20-30 minutes.
- Transfer the ice cream to an airtight container. Freeze for at least 4 hours or until firm.
Serving
- Serve coffee ice cream straight from the freezer. For an ideal serving temperature, let it sit out for about 5-10 minutes before scooping.